
Sandstone is one of the most commonly misrepresented surfaces in game environments and architectural visualization. Artists often grab a photoscanned desert photo, slap it onto a cliff mesh, and call it done. The result: blotchy, uniform slabs with no visual hierarchy, UV stretching along vertical faces, and absolutely none of the layered geological character that makes real canyon walls compelling to look at. A production-ready sandstone texture needs to balance macro bedding plane stratification, meso grain and cross-bedding detail, and micro quartz grit — all without repeating visibly across a 200-metre cliff face.
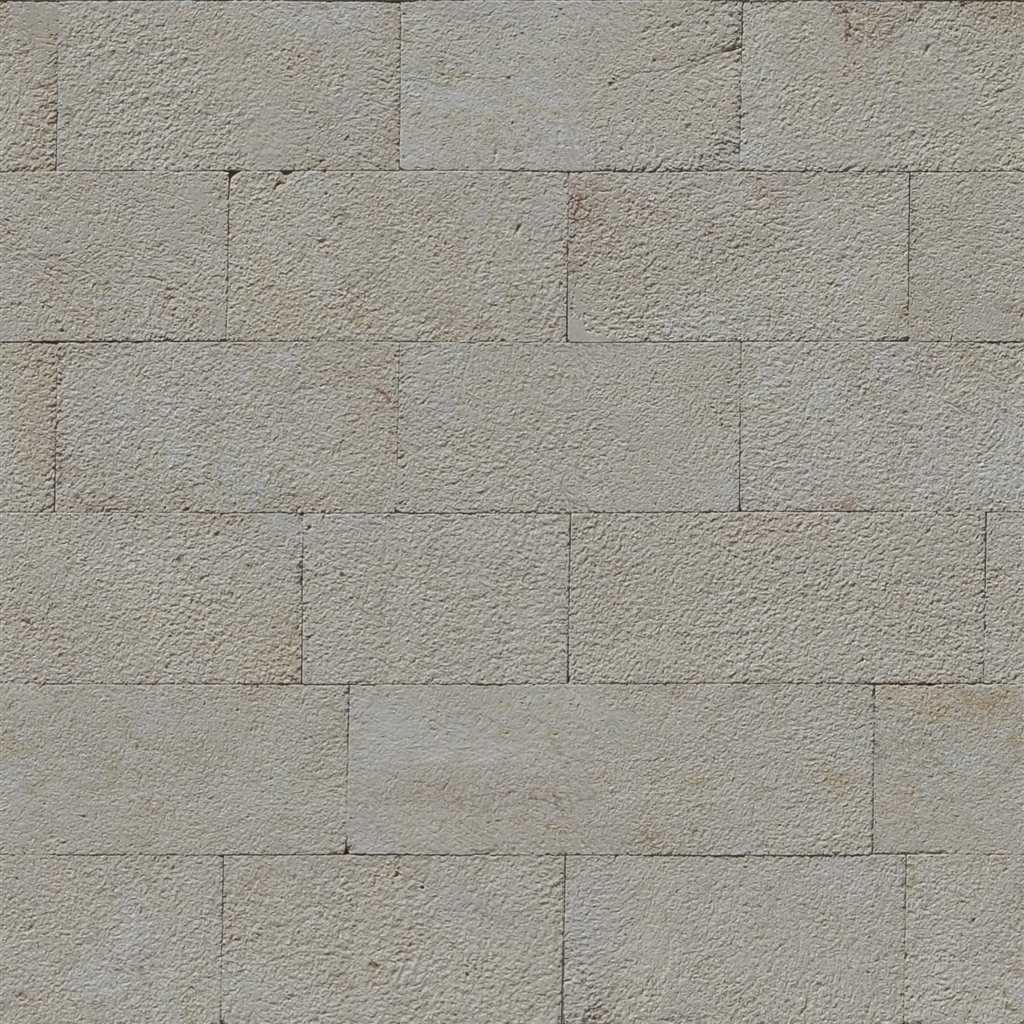
Realistic sandstone demands clear horizontal stratification, visible cross-bedding stripes, and high-frequency quartz grit — three frequency bands that must coexist without fighting each other.
Sedimentary rock like sandstone forms under water, grain by grain, over millions of years. Each visible layer records a distinct episode of deposition, erosion rate, and mineral composition. Faithfully encoding this geological narrative into your shader is what separates a convincing canyon from a painted box. Below is the full technical workflow for authoring, blending, and shading PBR sandstone textures in Blender, Unreal Engine 5, and V-Ray.
The Geology of Sandstone and What It Means for Shaders
Sandstone forms when quartz sand grains are compacted and cemented together by mineral-rich groundwater (silica, calcite, or iron oxide). The specific cement type determines the rock’s color and hardness:
[Sandstone Mineralogy → Shader Parameters]
Iron Oxide (Hematite) Cement  → Rich ochre / terracotta Base Color, Roughness 0.70–0.88
Silica (Quartz) Cement         → Pale cream / off-white, sharper facets, Roughness 0.60–0.78
Calcite (Limestone) Cement     → Warm buff / tan, slightly softer edges, Roughness 0.72–0.90
Feldspar-Rich (Arkose) → Pink-gray mottled, Roughness 0.65–0.82- Bedding Planes (Macro): Horizontal lamination layers deposited by ancient rivers or ocean currents. These appear as parallel color and roughness bands running across the cliff face. In a shader, they manifest as a slow-variation gradient (1–5 metres wavelength) modulating both Base Color lightness and Roughness.
- Cross-Bedding (Meso): Diagonal or curved striations formed by ancient dune migration and current ripples. They create the most visually distinctive pattern in sandstone — angled bands that cut through horizontal bedding at 10–30 degrees. This frequency is captured in a tiled normal map with moderate amplitude (
Strength: 0.15 – 0.40). - Quartz Grain Grit (Micro): Individual sand grains from 0.0625 mm to 2 mm in size introduce ultra-high-frequency surface roughness. This tile layer keeps the rock surface from appearing smooth and plastic when the camera is within arm’s reach.
Porosity: Why Sandstone Differs Optically from Granite
The critical distinction is porosity. Sandstone is a porous sedimentary material with much larger inter-grain voids than igneous granite. Pores scatter incident light into very broad, soft diffuse lobes. Sandstone never shows sharp specular glints at standard roughness values — rough granite can, but sandstone diffuses nearly all light.
PBR Sandstone Parameter Calibration Table
Different geological formations and weathering environments produce radically different sandstone appearances. Use this reference matrix to configure your PBR shaders:
| Sandstone Formation | Base Color (RGB Hex) | Roughness Range | Metallic | Normal Map Profile | Micro Detail Tiling |
|---|---|---|---|---|---|
| Navajo Sandstone (Desert Red) | #C4724A (Iron ochre red) | 0.78 - 0.92 | 0.0 | Bold horizontal bands with large rounded wind-eroded pits | 12x – 18x |
| Cream Buff Sandstone (UK) | #E3D8C0 (Warm pale cream) | 0.70 - 0.84 | 0.0 | Tight parallel laminae, fine cross-bed diagonals | 16x – 24x |
| Zion Canyon Vermilion | #B8543B (Deep terracotta) | 0.82 - 0.94 | 0.0 | Sweeping curved Aeolian cross-beds, wind-pitted alcoves | 8x – 14x |
| Wet / Rain-Soaked Sandstone | #7A5A40 (Deep wet amber) | 0.35 - 0.55 | 0.0 | Same structure, amplified; adds water film planar normal | 12x – 20x |
| Bleached Desert Sandstone | #F0E8D8 (Bone white) | 0.80 - 0.96 | 0.0 | Low contrast, subtle wind-polish microgrooves | 20x – 32x |
Note: Sandstone is 100% dielectric. Metallic must remain 0.0. Iron oxide banding should be expressed exclusively through Base Color variation — not through any Metallic or Specular override.
Step-by-Step: Building a Multi-Tier Sandstone Cliff Shader
Follow this layered approach in Blender or Unreal Engine 5 to produce convincing desert canyon walls:
-
Establish Macro Bedding Bands via World-Y Gradient: Use a World Position input node and extract the vertical Y (or Z in Z-up coordinate systems) component. Feed it through a gradient ramp to generate alternating light and dark horizontal color bands. These should have wavelengths of approximately
0.5mto3min world space. Clamp the ramp output between0.75and1.0and multiply it against your Base Color to modulate brightness without destroying saturation. -
Layer Diagonal Cross-Bedding Normals: Rotate a seamless sandstone normal map tile by
12° to 22°off-horizontal to simulate aeolian dune cross-stratification. Use aTexture Coordinate > Mappingnode set in object space to apply the rotation. Keep normal strength at0.15 – 0.30to suggest diagonal layering without creating an obvious rotated tile pattern. -
Blend Micro Quartz Grain: Sample a high-frequency sand grain normal map at
16xto24xworld-space tiling. Blend it into the cross-bed normal using Reoriented Normal Mapping (RNM) — never mathematical addition:[RNM Blend: Sandstone Normal Stack] Macro Bands (Geometry Bake) ──────────────────────────────┐ Cross-Bed Normal (12° rotated, Strength 0.20) ──[RNM A]───┼──> [RNM B] ──> Shader Normal Micro Grain Normal (16x tile, Strength 0.08) ─────────────┘ -
Mask Wet Zones via Cavity and World-Z: Rain-wet sandstone saturates darker and drops roughness sharply. Use the inverted AO cavity map to accumulate wetness in sheltered crevices. Feed the cavity mask through a Smoothstep curve to control the transition between
Roughness: 0.85(dry exposed face) andRoughness: 0.38(rain-soaked protected ledge). -
Apply Triplanar Projection to Prevent UV Stretch: For large terrain meshes and vertical cliff walls, use world-aligned triplanar texture projection. Calculate blend weights from the absolute world-space normal and normalize:
float3 weights = pow(abs(WorldNormal), 6.0);
weights /= (weights.x + weights.y + weights.z);
float4 final = SampleXZ * weights.x + SampleYZ * weights.y + SampleXY * weights.z;
Triplanar projection eliminates the vertical UV-stretch that makes sandstone look like it was printed on a scroll of wallpaper.
Creating Custom Sandstone Textures and Normal Maps
Sourcing accurate multi-layer sandstone normal maps that capture true geological cross-bedding stratification from generic photoscanning libraries is unreliable. AI-assisted generators can synthesize physically accurate height fields from text descriptions, extracting sedimentary band structure and micro-grit detail simultaneously.
If you need to generate production-ready sandstone normal maps, bedding plane displacement fields, and complete PBR texture sets for desert canyon environments, streamline your environment pipeline with our Free Online Normal Map and PBR Generator — Try Desert Sandstone Canyon. You can also generate seamless tileable sandstone surfaces for large architectural facades and game terrain with our Seamless Texture Generator Online.
Sandstone Shader Production Checklist
- Macro bedding bands driven by world-space vertical gradient, not UV painting.
- Cross-bedding normals rotated
12° – 22°off horizontal to simulate aeolian dune deposition. - Micro quartz grain tiled
16x – 24xin world space and blended via RNM. -
Metalliclocked to0.0; iron oxide color variation expressed through Base Color only. - Roughness range calibrated between
0.70 – 0.94(dry exposed face); drops to0.35 – 0.55in wet cavity zones. - Triplanar world-space projection applied to eliminate vertical UV stretching on cliff faces.
- Wet zones masked via inverted AO cavity with Smoothstep roughness blend.
Related reading: Rock Texture PBR Guide · Dirt Sand Texture Seamless Guide · Normal Map Creation Workflows · Grass Texture Seamless Terrain Guide