
Rendering snow in 3D game engines and architectural visualizers is notoriously tricky. When artists assign a simple white diffuse color to a terrain mesh, the surface inevitably ends up looking like flat white plaster, styrofoam, or spilled milk. The magical translucency and crisp definition of real winter landscapes depend heavily on a finely calibrated snow texture normal map interacting with dynamic lighting.
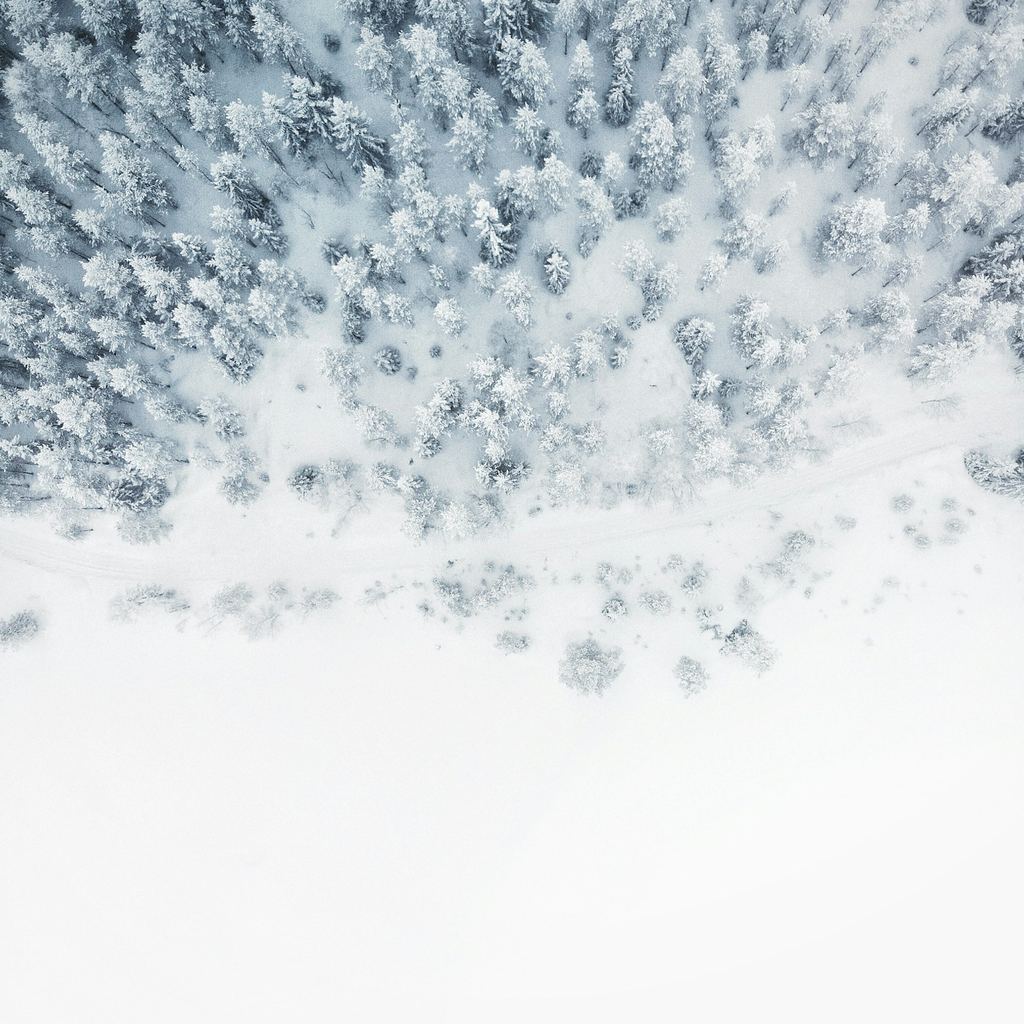
A high-fidelity snow normal map captures both organic wind-blown ripples and microscopic crystalline facets to scatter sunlight into realistic glints.
Because snow is not a solid opaque mineral but an accumulation of billions of individual ice crystals resting over air pockets, its normal maps behave differently from hard-surface stone or metal. Below is the comprehensive technical guide on how to build, blend, and configure snow normal maps alongside Subsurface Scattering (SSS) and specular sparkles across Unreal Engine 5, Blender, and Unity.
Anatomy of Snow Surface Micro-Geometry
In nature, environmental conditions radically change the micro-relief of snow within hours of falling. To choose the right normal map profile, identify which stage of winter terrain you are modeling:
- Powder Snow (Fresh Fall): Characterized by delicate, feather-soft wind dunes. Normal maps require low-contrast, undulating ripples with minimal sharp cuts.
- Wind-Crust / Sastrugi: Strong gales carve aerodynamic ridges and sharp overhanging ledges into frozen crusts. Normal maps feature directional, knife-edge horizontal waves.
- Wet Packed Snow / Slush: High moisture content smooths out powdery ripples into broad rounded lumps, punctuated by deep footstep impressions and melting water puddles.
- Glacial Hard-Packed Ice: High density and partial refreezing create sharp fractured crevices and glassy planar facets.
[Multi-Layer Snow Terrain Shading Pipeline]
Macro Terrain Normal (Displacement / Large Hills) ──┐
                                                    ├──> [Normal Blend Function] ──> [Shader Normal Socket]
Micro Ice Crystal Normal (Tiled 24x or 32x) ────────┘
        │
        ▼
[Normal Directional Dot Product] ──> [Powder Sparkle Mask] ──> [Specular Glint Boost]
Snow Types and PBR Parameter Matrix
Balancing your snow normal map requires tight coordination with Subsurface Scattering and roughness channels:
| Snow Condition | Base Color (RGB) | Roughness Range | SSS Weight | SSS Radius Tint | Normal Map Intensity |
|---|---|---|---|---|---|
| Fresh Powder Snow | (0.92, 0.94, 0.98) | 0.65 - 0.85 | 0.35 - 0.50 | Light Cyan / Blue | 0.5 - 0.8 (Gentle Undulations) |
| Wind-Carved Crust (Sastrugi) | (0.90, 0.93, 0.97) | 0.30 - 0.55 | 0.20 - 0.35 | Pale Sky Blue | 1.0 - 1.4 (Sharp Knife Ridges) |
| Footstep / Tire Track Debris | (0.85, 0.87, 0.90) | 0.45 - 0.70 | 0.15 - 0.25 | Neutral Grey | 1.2 - 1.6 (Deep Packed Crevices) |
| Melting Spring Slush | (0.82, 0.86, 0.92) | 0.08 - 0.25 | 0.10 - 0.20 | Pale Turquoise | 0.4 - 0.6 (Glossy Melting Surface) |
| Hard Glacial Ice Layer | (0.75, 0.85, 0.94) | 0.12 - 0.30 | 0.45 - 0.65 | Deep Cyan-Teal | 0.8 - 1.2 (Chiseled Fractures) |
Step-by-Step Implementation: Building Realistic Snow Shaders
Follow this structured technical pipeline inside Blender’s Shader Editor or Unreal Engine 5’s Material Graph.
1. Configure Color Space and Normal Intensity
- Import your snow normal map asset (
Snow_Normal.png). - Set its texture import settings to Normalmap (BC5 compression) in UE5/Unity, or set Color Space to Non-Color in Blender.
- Wire the texture through a Normal Map node set to Tangent Space.
- Set the initial Strength to
0.8. Avoid overdriving normal strength beyond1.5, as extreme vector slopes generate unnatural pitch-black shadowing in crevice hollows where light should bounce internally.
2. Connect Subsurface Scattering for Translucent Depth
Because light penetrates millimeters into fresh snow before reflecting outward, omitting SSS makes the surface look chalky and dead.
- In Blender’s Principled BSDF, locate the Subsurface panel.
- Set Subsurface Weight to
0.40. - Set Subsurface Radius to
(1.0, 0.85, 0.70)in RGB meters. This allows red and amber light to scatter deeper while blue wavelengths scatter near the surface, creating natural cool shadows and warm illuminated rims. - In Unreal Engine 5, set the Material’s Shading Model to Subsurface and plug an icy pale blue tint into the Subsurface Color socket.
3. Build a Normal-Driven Crystal Sparkle Mask
The hallmark of crisp sunny winter days is the tiny diamond-like glitter sparkling across powder snow as the camera moves.
- Create a high-frequency, tileable micro-noise normal map tiled at
32xacross your mesh coordinates. - Calculate the dot product between your camera view vector and the micro normal vector.
- Route the result through a sharp Power or Smoothstep node (
Power: 64.0) to isolate only the microscopic normal facets pointing directly toward the camera. - Multiply this isolated mask into your material’s Specular or Emission input (
Multiplier: 2.5). As the sun angles across the snowbanks, tiny pinpoint glints will shimmer dynamically across the terrain.
Diagnostic Reference Table for Snow Normal Map Errors
| Visual Artifact | Root Cause | Immediate Fix |
|---|---|---|
| Snow crevices look like black oil streaks | Ambient Occlusion too intense or normal strength overdriven (> 2.0) | Soften the normal strength and clamp AO minimum brightness to 0.4 |
| Surface looks like wet grey wet cement | Base color albedo value too dark or roughness set below 0.2 without water masks | Increase base color RGB brightness above 0.90 and raise roughness to 0.7 |
| No sense of depth under direct sun | Missing micro-scale normal ripples or SSS weight set to zero | Blend a tiled micro normal map and raise Subsurface Weight to 0.35 |
| Ridges look indented when viewing from hillside crests | Green Y-axis inverted between OpenGL and DirectX formats | Flip the green channel in texture properties or invert via an RGB Curves node |
Generating Production-Ready Snow Textures
Manually sculpting vast mountain snowscapes or painting snow drift normals in 2D software is virtually impossible without introducing obvious repeating seams. Dedicated procedural and AI PBR generators allow you to simulate physical wind drift dynamics, melt ripples, and crisp crystalline facets in seconds.
If you need to rapidly create production-ready snow normal maps and complete PBR texture sets for outdoor environments, accelerate your terrain workflow with our Free Online Normal Map and PBR Generator — Try Fresh Powder Snow. You can also generate completely seamless winter landscape materials for wide open worlds using our Seamless Texture Generator Online.
Snow PBR Shading Quick Checklist
- Normal map imported as Non-Color / Normalmap space.
- Subsurface Scattering enabled (
Weight: 0.35 - 0.50) with cool cyan radius tinting. - Roughness modulated between powder ridges (
0.75) and compressed troughs (0.45). - Tiled micro crystal normal blended into macro terrain normal.
- Specular sparkles driven by high-frequency vector reflection angles.
Related reading: What is a Normal Map? · Roughness Map Guide · How to Set Up a Normal Map in Blender · Flat Normal Map Color Explained