
Procedural texturing is one of the most powerful features in modern 3D workflows. Instead of relying entirely on external image files, you can generate complex surface transitions mathematically. A gradient PBR texture in Blender allows you to seamlessly transition colors, blend between shiny and matte surfaces, or simulate rust creeping up a metal pipe—all without UV unwrapping or painting.
The core of this workflow relies on mastering the Gradient Texture node and the ColorRamp node within Blender’s Shader Editor.
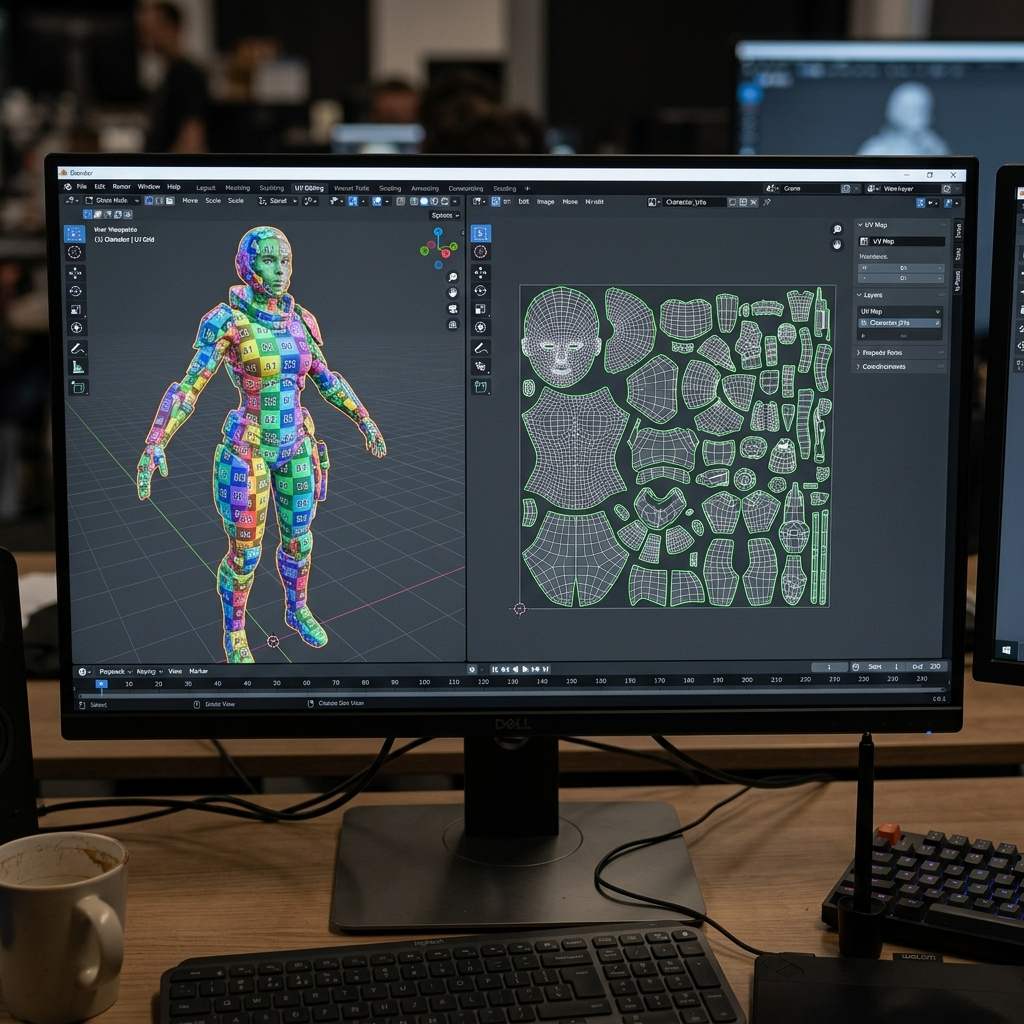 *Using a gradient node to drive the Roughness input allows you to create surfaces that transition smoothly from highly reflective to completely matte.*
The Role of Gradients in PBR
In a Physically Based Rendering (PBR) pipeline, a gradient is not just for changing colors. The black-to-white transition of a gradient can be plugged into any input on the Principled BSDF shader to drive physical properties:
- Roughness: A gradient transitioning from black (0.0) to white (1.0) will create a surface that is a perfect mirror on one side and completely matte on the other.
- Metallic: A hard-stop gradient can simulate a painted object where the paint has worn off, revealing raw metal underneath.
- Bump/Displacement: A gradient can act as a smooth ramp, physically inclining the geometry.
Step-by-Step: Building a Gradient PBR Material
To create a procedural gradient transition on an object in Blender, follow these precise node connections:
1. Add the Base Nodes
- Open the Shader Editor and ensure your object has a new Material assigned.
- Press
Shift + A, search for Gradient Texture, and drop it onto the grid. - Press
Shift + A, search for ColorRamp, and place it between the Gradient Texture and the Principled BSDF.
2. Connect and Map the Gradient
- Connect the
Coloroutput of the Gradient Texture to theFacinput of the ColorRamp. - Ensure the Node Wrangler add-on is enabled (
Edit > Preferences > Add-ons). Select the Gradient Texture node and pressCtrl + T. This automatically adds a Texture Coordinate and Mapping node. - Change the Texture Coordinate output from
GeneratedtoObjectto ensure the gradient stays centered on your mesh.
3. Drive the PBR Properties
Now you can use the ColorRamp to control the material.
- For Color: Connect the ColorRamp
Coloroutput to theBase Colorof the Principled BSDF. Change the black and white flags on the ColorRamp to any colors you choose (e.g., red to blue). - For Roughness: Connect the ColorRamp
Coloroutput to theRoughnessinput. The dark areas of the ramp will be shiny; the light areas will be rough. You can slide the flags on the ColorRamp to adjust the transition sharpness.
Gradient Setup Reference Table
Use this matrix to understand how different Gradient Texture modes affect the mapping:
| Gradient Mode (渐变模式) | Visual Effect (视觉效果) | Best Use Case (最佳使用场景) |
|---|---|---|
| Linear | A straight transition from one side to the other. | Simulating water stains creeping up a wall, or basic color fades. |
| Spherical | A circular radial gradient radiating from the center. | Creating a glowing hot core in the center of an engine exhaust. |
| Quadratic / Easing | A non-linear, smoother falloff transition. | Simulating soft ambient occlusion or dirt accumulating in crevices. |
Combining Procedural Gradients with Image Textures
While procedural gradients are powerful, they often look too “perfect” and computer-generated. To achieve ultimate photorealism, artists blend procedural gradients with highly detailed image textures.
If you need to rapidly generate a photorealistic base material to blend with your gradients, start with our Free Online Normal Map and PBR Generator — Try Rusted Metal. You can also generate infinitely repeating grunge maps to break up your perfect gradients using our Seamless Texture Generator Online.
Related reading: Blender Texture UV Mapping Guide · Convert Texture Picture to Normal Map · Blender Texture Paint Guide