
Texture painting directly onto your 3D models in Blender is one of the most intuitive ways to add weathering, decals, and custom details. But if you have ever switched to Texture Paint mode only to find your brush doing absolutely nothing, you know how frustrating the initial setup can be.
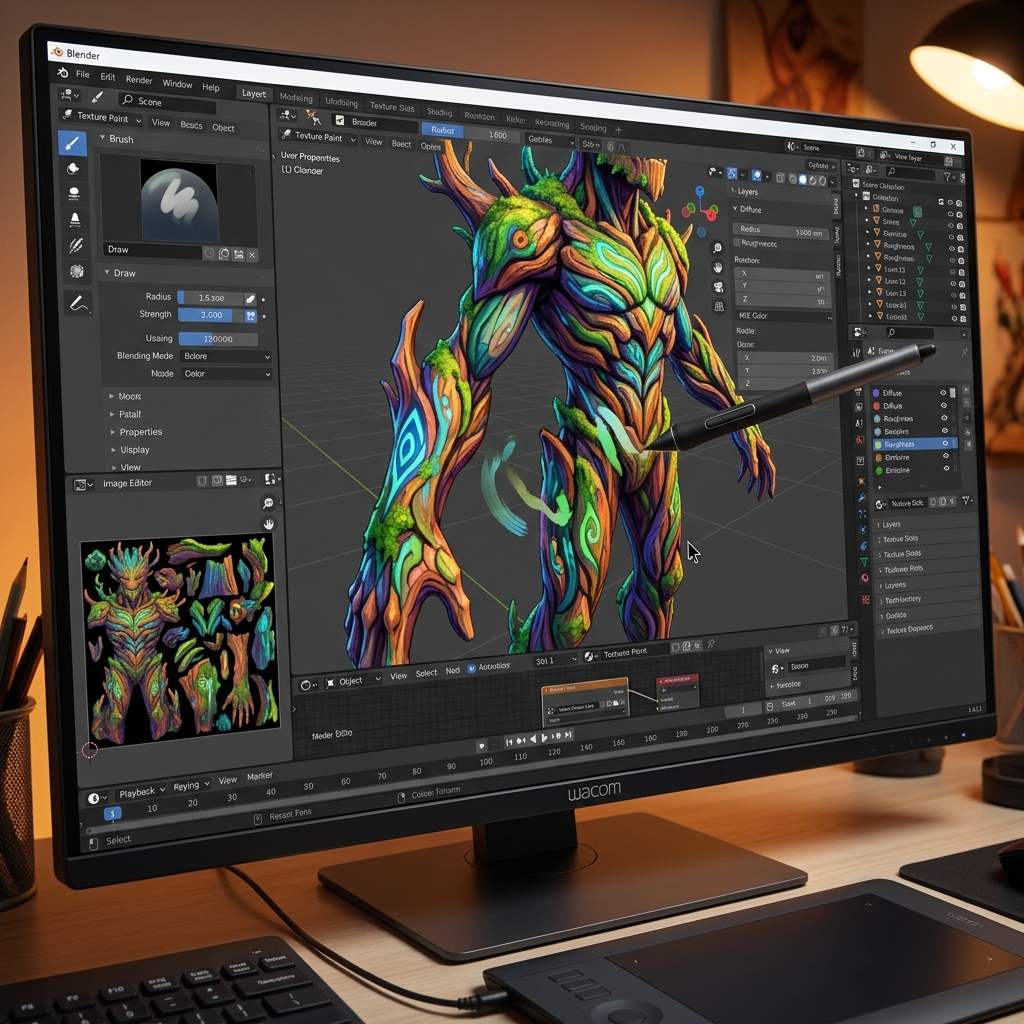 *Painting directly on the 3D mesh requires a properly unwrapped UV map and an active Image Texture node.*
Why Texture Paint Fails (The Missing Link)
The most common issue beginners face in Blender’s Texture Paint mode is the “Missing Data” warning or a brush that refuses to leave a mark. This happens because Blender needs three explicit connections before it allows you to paint:
- A valid UV Map for the mesh.
- A blank Image Texture created in memory or saved to disk.
- That Image Texture must be actively selected inside the Shader Editor.
If any of these are missing, the brush engine has no canvas to write pixel data to.
Step-by-Step Fixes for Texture Painting
1. Set Up the Base Canvas Properly
Before you even click the Texture Paint tab, you must configure your material nodes.
- Open the Shader Editor and assign a Material to your object.
- Press
Shift + A> Texture > Image Texture. - Click New on the Image Texture node. Set the resolution (e.g.,
2048 x 2048) and choose a base color. Make sure to uncheck Alpha if you don’t need transparency, to save memory. - Connect the
Coloroutput of this node into theBase Colorof your Principled BSDF.
2. Activate the Target Texture in Texture Slots
This is the critical step that most artists miss, and the workflow differs depending on your Blender version:
Blender 4.x (current):
- Switch your 3D Viewport to Texture Paint mode (header dropdown).
- In the right-hand sidebar that appears, open the Tool tab > Texture Slots panel.
- Click Add (the
+icon) to create a new paint slot, or select your existing image from the dropdown. - Your target canvas is now active — brush strokes will write directly to this image.
Blender 3.x (legacy):
- In the Shader Editor, click on the Image Texture node you created. It must have a highlighted outline around it.
- Switch to Texture Paint mode. Blender 3.x reads the active node in the Shader Editor as the paint target.
3. Save Your Painted Textures
Blender does not automatically save painted textures when you save your .blend file!
- After painting, you will notice an asterisk
*next to the Image menu in the Image Editor window. - Click Image > Save As… and save your texture as a PNG or JPG to your hard drive.
- If you close Blender without doing this, all your painting progress will be permanently lost.
PBR Parameter Reference Table
If you are painting PBR maps instead of base colors, keep these data formats in mind:
| Map Type | Color Space | Recommended Format | Use Case |
|---|---|---|---|
| Base Color | sRGB | 8-bit PNG / JPG | Painting diffuse color, decals, and dirt. |
| Roughness | Non-Color | 8-bit PNG | Painting glossy (black) or matte (white) areas. |
| Normal Map | Non-Color | 16-bit PNG | Painting bump details. Requires an RGB base of (0.5, 0.5, 1.0). |
Elevating Your Texture Workflow
Once you’ve mastered the basics of painting in Blender, you can start combining hand-painted details with procedural or generated textures.
If you need to rapidly generate base normal maps and PBR textures to paint over, power up your pipeline with our Free Online Normal Map and PBR Generator — Try Grunge Metal. You can also generate fully tileable base patterns using our Seamless Texture Generator Online.
Related reading: Best Normal Map Creator Online · Create Seamless Texture Online · Roughness Map Guide