
Handling transparent textures correctly separates amateur 3D renders from professional studio work. Whether you are building an architectural visualization with massive glass panels or a game asset with a dirty plastic visor, setting up transparency involves more than just lowering the opacity slider.
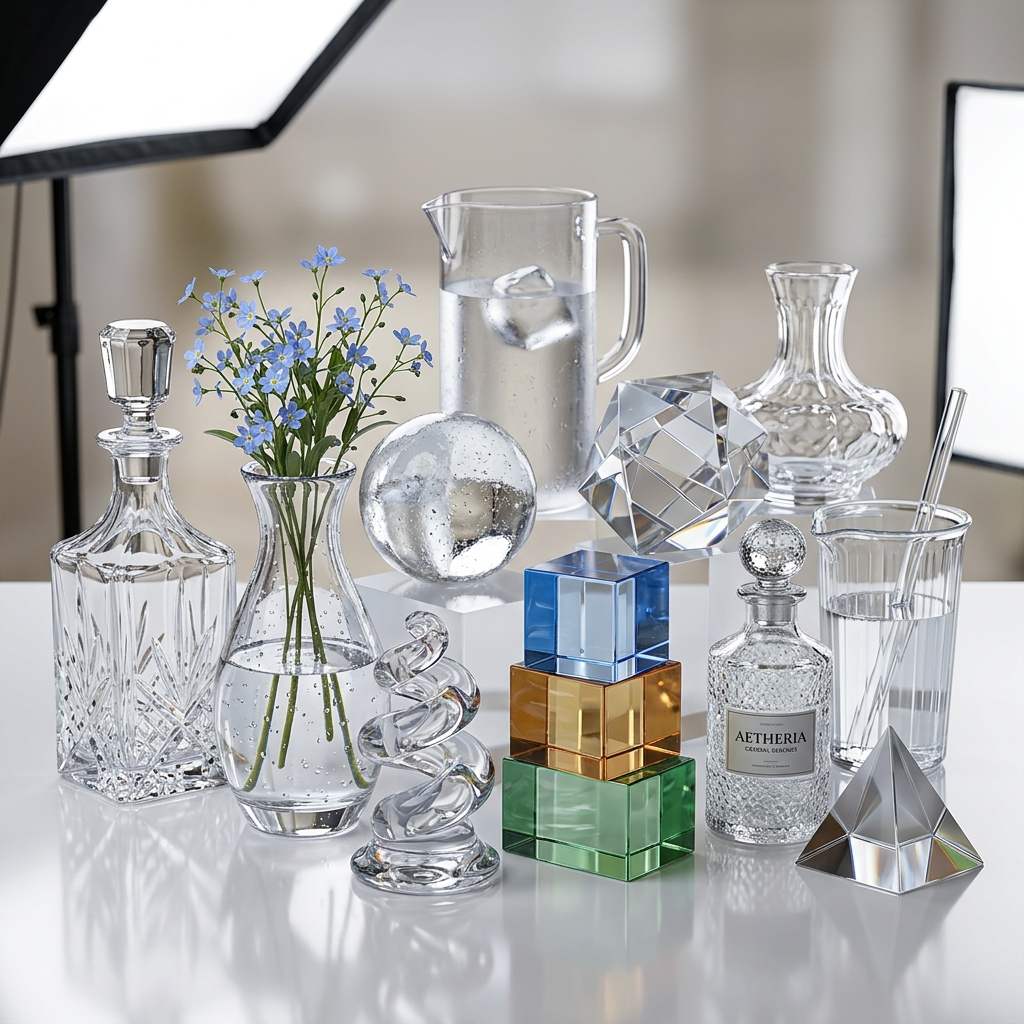 *Realistic transparent textures rely on accurate index of refraction (IOR) and surface roughness to simulate how light interacts with volume.*
Understanding Alpha vs. Transmission
The biggest mistake artists make with transparent textures is confusing Alpha transparency with Transmission.
1. Alpha (Cutout Transparency)
Alpha should only be used when an object is either completely solid or completely invisible. Think of wire fences, tree leaves, or torn fabric edges. The engine does not calculate light bending (refraction); it just stops drawing pixels where the Alpha map is black.
2. Transmission (Refractive Transparency)
Transmission is used for solid objects that let light pass through them, like glass, water, or ice. Unlike Alpha, Transmission calculates how light bends when it enters the medium. If you want realistic windows, your Alpha should be 1.0 (fully solid), and your Transmission should be 1.0 (fully refractive).
PBR Shader Setup for Transparent Materials
Whether you are working in Blender (Cycles/Eevee), Unreal Engine 5, or Unity HDRP, the underlying PBR parameters follow the same physical principles. Here is the exact blueprint for any dielectric transparent material:
- Base Color (Albedo): Set to pure white
(1.0, 1.0, 1.0). For glass with a color tint (like amber whiskey bottle glass), add a low-saturation tint here. Keep in mind that in Blender Cycles, whenTransmissionis1.0, the Base Color is passed through the glass volume — it affects the glass body color, not the opacity. - Metallic: Keep this strictly at
0.0. Glass and water are 100% dielectric materials. Metallic = 1.0 on a transparent object will break the render completely. - Transmission: Push this all the way to
1.0. Values between 0.0 and 1.0 are physically invalid for real-world glass and should only be used for stylized frosted/semi-opaque effects. - IOR (Index of Refraction): Set to
1.45for standard glass,1.33for water, or1.49for acrylic. This is the most impactful parameter — a wrong IOR value will make glass look like a soap bubble or a block of rubber. - Roughness: Always use a Roughness texture map rather than a flat value. Smudges, fingerprints, and micro-scratches will break up the clean reflections and make the surface photorealistic. Ensure the map’s Color Space is set to
Non-Colordata.
PBR Transparent Material Reference Table
| Material Type | Transmission | IOR (Index of Refraction) | Alpha |
|---|---|---|---|
| Clean Glass | 1.0 | 1.45 ~ 1.50 | 1.0 (Solid) |
| Water | 1.0 | 1.33 | 1.0 (Solid) |
| Acrylic / Plastic | 1.0 | 1.49 | 1.0 (Solid) |
| Wire Mesh / Fence | 0.0 | N/A | Driven by B&W Texture |
Transparent Textures Across Different Render Engines
The core PBR values above are universal, but each render engine has specific quirks you must account for:
Blender Cycles
Cycles is a path-tracer and handles glass physically. The main pitfall is render sample count: glass requires high sample counts (256+ samples) to eliminate firefly noise. Also enable Caustics under Render Properties > Light Paths if you need realistic light projection through glass.
Blender Eevee
Eevee uses rasterization, so Transmission is faked rather than physically simulated. For best results:
- Enable Screen Space Reflections and Refraction in Render Properties.
- Set the material’s Blend Mode to
Alpha Blendand check Screen Space Refraction. - Eevee glass will not cast accurate caustics, which is a known architectural limitation.
Unreal Engine 5
In UE5, set your Material’s Blend Mode to Translucent and check Refraction in the material settings. Use the Refraction input pin with a constant of 1.45 (for glass IOR). Note that UE5’s default Translucent mode does not support ray-traced shadows without enabling Ray Tracing in Project Settings.
Creating Smudged and Weathered Glass
A perfectly clean transparent texture looks like CGI plastic. To achieve photorealism, you must introduce surface imperfections: a Roughness texture map painted with subtle smudge gradients in critical areas (hand contact points, edges, corners) makes the difference between a prop and a hero asset.
If you need to rapidly generate realistic frosted glass, dirty windows, or scratched plastic PBR textures, power up your pipeline with our Free Online Normal Map and PBR Generator — Try Dirty Window Glass. You can also generate fully tileable frosted textures using our Seamless Texture Generator Online.
Related reading: Fix Blender Texture Too Transparent Issue · Roughness Map Guide · Make Image Seamless Texture Online