
Creating a believable transparent texture is one of the most challenging tasks in 3D rendering. If you simply lower the “Opacity” or “Alpha” slider on a material, you don’t get glass—you get a ghostly, hollow hologram. Real-world transparency involves complex light physics: reflection, refraction, and surface imperfections.
To render a realistic transparent texture like architectural glass, a wine bottle, or water, you must configure a physically based rendering (PBR) shader correctly.
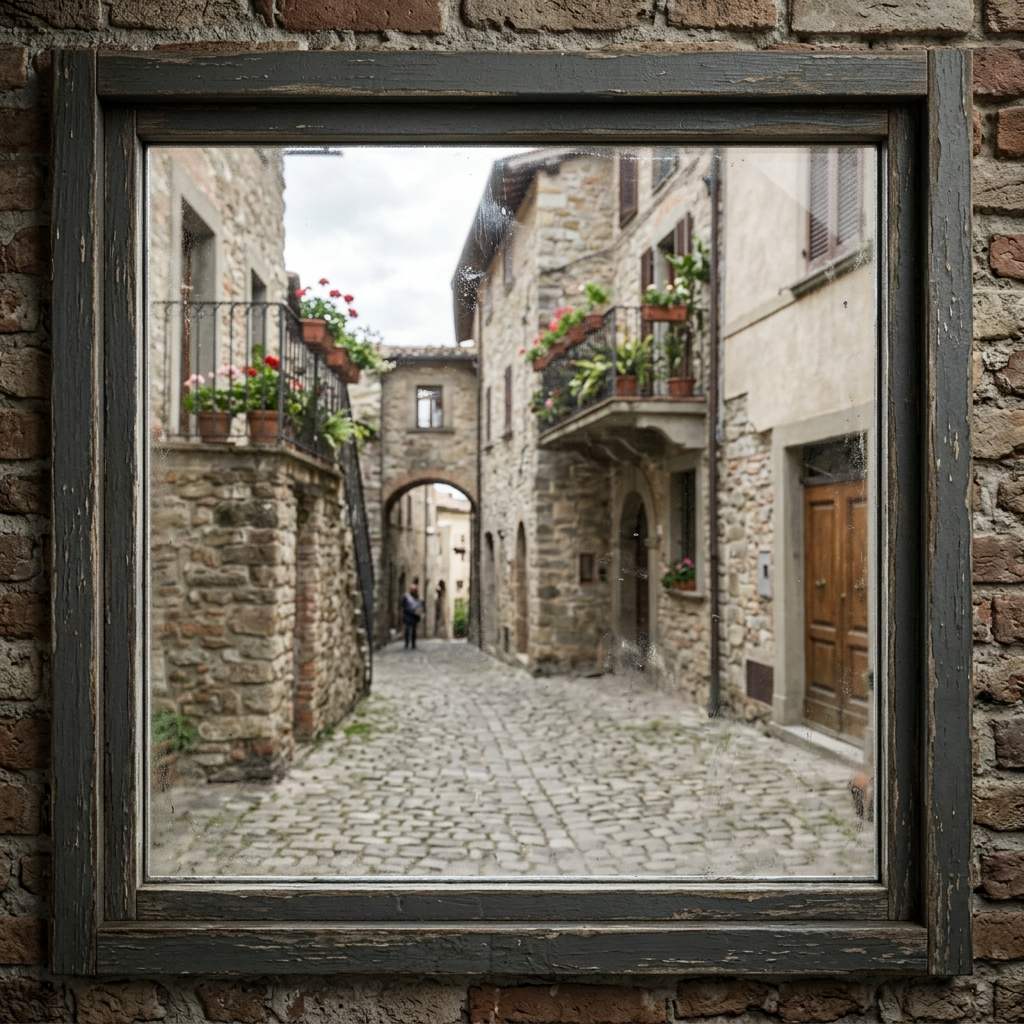 *Realistic transparency relies entirely on Transmission and Index of Refraction (IOR), not just lowering the Alpha channel.*
Why Alpha Blending is Wrong for Glass
In standard 2D image editing, “transparency” means a lack of pixels (the Alpha channel). In 3D graphics, using Alpha to make an object transparent removes the physical surface of the object entirely. Light passes straight through it without bending, and the surface stops reflecting the environment.
For real-world materials like glass, water, or ice, you should never use the Alpha slider. Instead, you must use Transmission.
Transmission tells the render engine that the object has a solid physical surface (which can reflect light and catch specular highlights) but allows light rays to pass through the volume of the object, bending the light in the process.
Step-by-Step: Setting Up a Transparent PBR Shader
Whether you are using Blender (Principled BSDF), Unreal Engine, or Unity, the fundamental PBR settings for a transparent texture are identical.
1. Enable Transmission
- Select your material and locate the PBR shader settings.
- Find the Transmission slider (sometimes called Refraction).
- Set the Transmission Weight to
1.0(100%). Your object will immediately begin acting like a solid piece of glass. - Ensure the Base Color (Albedo) is set to pure white. Darker colors will tint the light passing through the glass.
2. Set the Correct IOR
Index of Refraction (IOR) dictates how severely light bends as it enters your transparent material. If IOR is set to 1.0, light doesn’t bend at all (like a vacuum).
- Water: Set IOR to
1.33 - Standard Glass: Set IOR to
1.45 - Crystal / Diamond: Set IOR to
2.41
3. Add Surface Imperfections
Perfectly smooth glass looks fake and CGI-like. Real glass has micro-scratches, dust, and oily smudges.
- Obtain a high-quality, high-contrast Grunge or Smudge map.
- Plug this map into the Roughness input of your shader.
- The smudged areas will appear matte and catch the light, while the clean areas will remain perfectly transparent, instantly elevating the realism of your render.
PBR Transparent Material Reference Table
Use these parameters as a baseline for configuring your transparent textures:
| Parameter (参数指标) | Standard Window Glass | Muddy Water / Puddles | Technical Rationale (物理渲染原理) |
|---|---|---|---|
| Transmission | 1.0 | 1.0 | Allows light to travel through the volume of the mesh. |
| Metallic | 0.0 | 0.0 | Glass and water are dielectric (non-metal). Never use metallic for transparency. |
| Roughness | 0.0 (Use smudge map) | 0.05 to 0.1 | Controls the clarity of the reflections on the surface of the transparent object. |
| IOR | 1.45 | 1.33 | Determines the distortion angle of the background behind the object. |
| Alpha | 1.0 | 1.0 | Keep at 100%. Lowering this destroys specular reflections. |
Generating Procedural Smudges and Frost
Finding the perfect surface imperfection map for your glass can be difficult.
If you need to rapidly generate bespoke dirt maps and PBR textures for your transparent materials, power up your pipeline with our Free Online Normal Map and PBR Generator — Try Frosted Glass. You can also generate fully tileable fluid surfaces using our Seamless Texture Generator Online.
Related reading: Transparent Textures Rendering Guide · Blender Texture Too Transparent Fix · Roughness Map Guide