
Importing textures into Blender can be a tedious process for beginners. If you download a PBR (Physically Based Rendering) material online, you typically receive a folder containing five or six different image files: Base Color, Normal, Roughness, Metallic, and Height.
Manually dragging each file into the Shader Editor, creating Image Texture nodes, and connecting all the spaghetti wires one by one wastes valuable time. Thankfully, there is a built-in shortcut that automates this entire process in seconds.
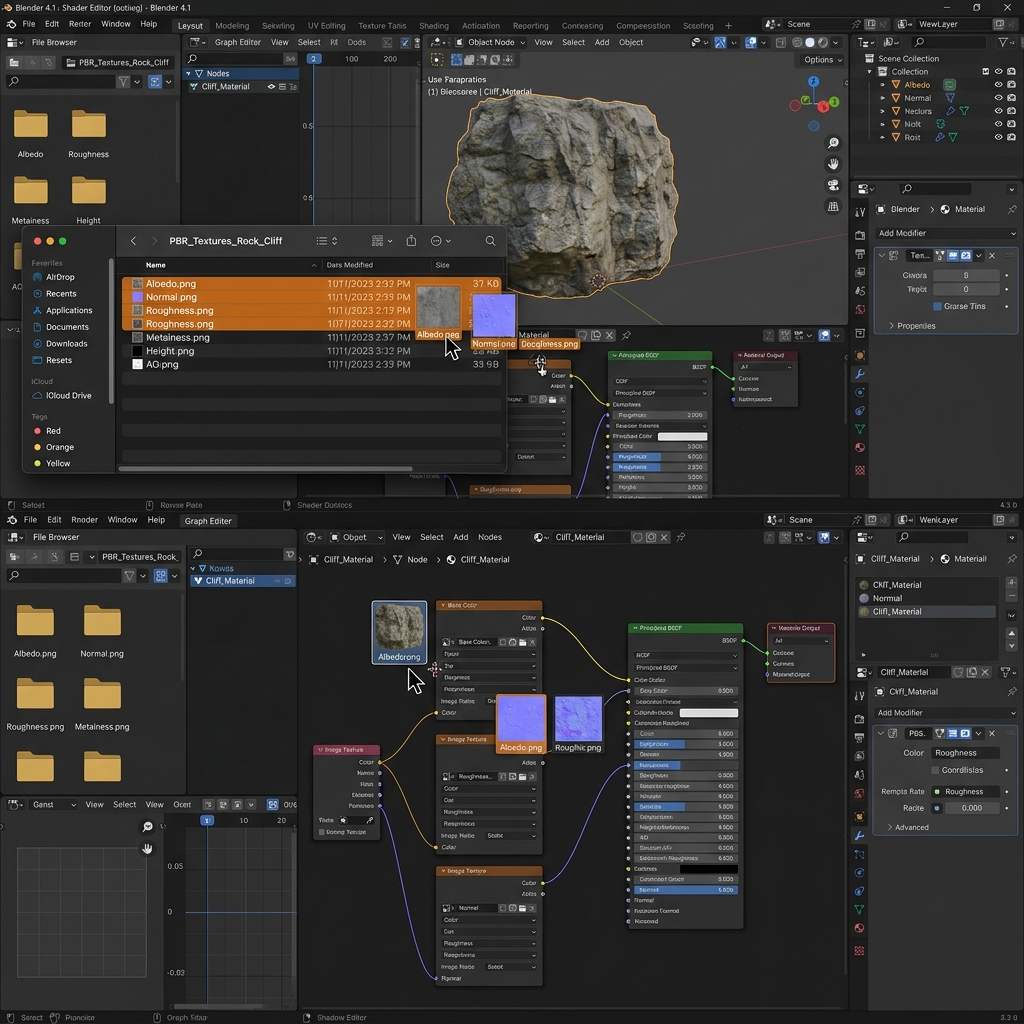 *Manually dragging texture files into the Shader Editor is slow and prone to color space errors. The Node Wrangler add-on automates this.*
The Secret Weapon: Node Wrangler
To import textures instantly, you must first enable one of Blender’s most powerful built-in plugins: Node Wrangler.
- Go to the top menu and select Edit > Preferences.
- Click on the Add-ons tab on the left side.
- In the search bar at the top right, type
Node Wrangler. - Check the box next to Node: Node Wrangler to enable it.
- Close the Preferences window.
You only need to do this once. Blender will remember this setting for all future projects.
Step-by-Step: The One-Click Import Method
Now that Node Wrangler is active, importing a full suite of PBR textures takes exactly three clicks.
1. Prepare Your Material
- Select your 3D model in the viewport.
- Go to the Material Properties tab (the red globe icon) and click New to assign a blank material.
- Switch your workspace to the Shader Editor.
2. The Node Wrangler Shortcut
- In the Shader Editor, click once on the large green Principled BSDF node to highlight it with a white outline.
- Press
Ctrl + Shift + Ton your keyboard. - A file browser window will open. Go to the folder where you saved your downloaded textures.
3. Select and Apply
- Hold
Shiftand click to select all the relevant texture maps at once (Base Color, Normal, Roughness, Metallic, etc.). - Click the Principled Texture Setup button at the bottom right.
- Node Wrangler will instantly import all the textures, create the necessary nodes (including Mapping and Texture Coordinate nodes), set the correct Color Space for non-color data, and wire everything perfectly into the Principled BSDF.
Texture Import Troubleshooting Table
If your textures look wrong after importing, check this diagnostic matrix:
| Symptom (现象/报错) | Primary Cause (根本原因) | Immediate Solution (快速解决方案) |
|---|---|---|
| Node Wrangler shortcut (Ctrl+Shift+T) does nothing | BSDF node not selected | You must physically click the Principled BSDF node so it has a white outline before pressing the shortcut. |
| Material looks completely black or purple | Missing UV Map | The model lacks UV coordinates. Press Tab for Edit Mode, A to select all, U, and choose Smart UV Project. |
| Bumps appear inverted (pushed in instead of out) | Wrong Normal format | Select the Normal Map node and change the Color Space to Non-Color. If still inverted, you may have a DirectX normal map instead of OpenGL. |
Upgrading Your Texture Library
The Node Wrangler method relies heavily on file naming conventions. It looks for keywords like “Albedo”, “Normal”, and “Rough” in the file names to know where to connect them.
If you need to rapidly generate perfectly named, ready-to-import PBR texture suites, power up your pipeline with our Free Online Normal Map and PBR Generator — Try Sci-Fi Panels. You can also generate seamless base textures using our Seamless Texture Generator Online.
Related reading: Blender Texture UV Mapping Guide · Missing Texture Troubleshooting Guide · How to Add Rough Texture in Blender