
Nothing screams “fake CGI” more than a perfectly smooth, glossy surface. In reality, even highly polished objects like car paint or glass have microscopic imperfections, dust, and smudges that scatter light unevenly. To achieve photorealism, you must learn how to add rough texture variations across the surface of your Blender materials.
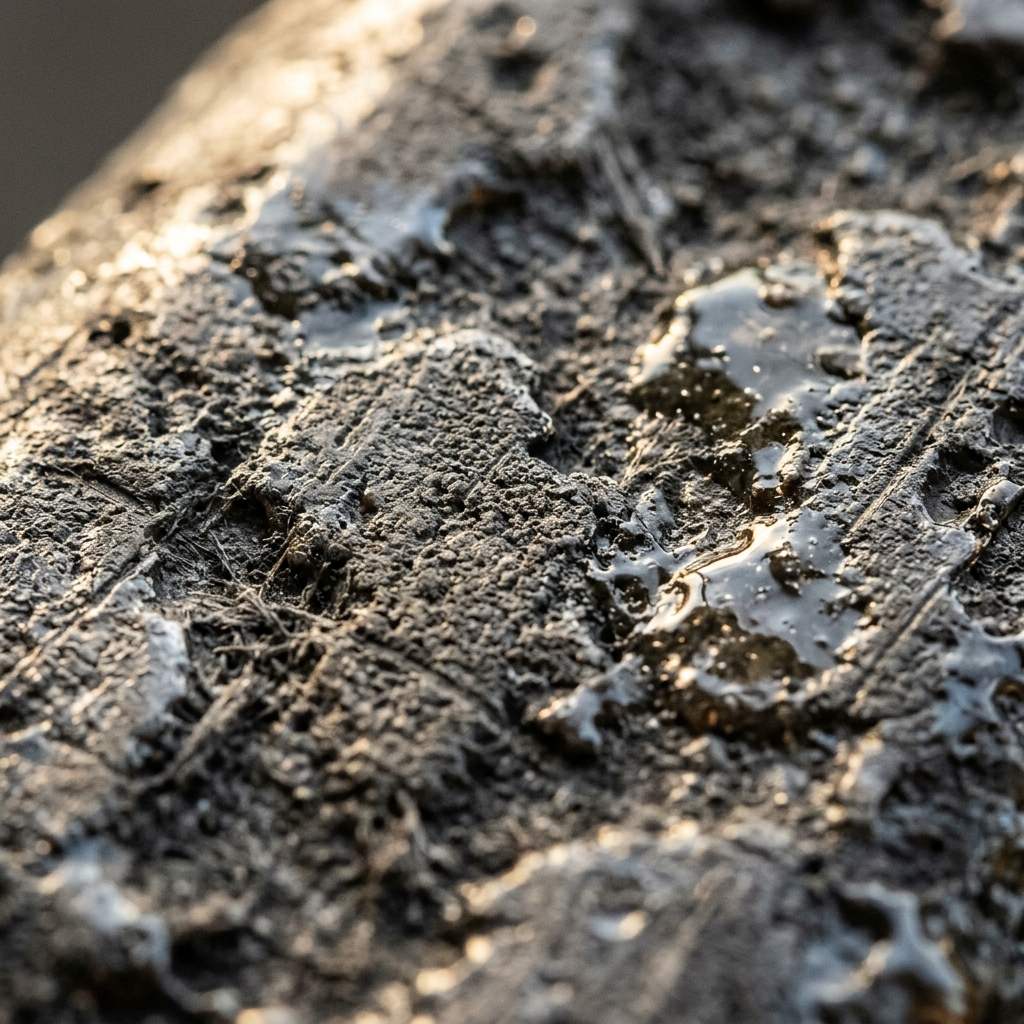 *Dramatic lighting reveals how surface imperfections and roughness maps break up the specular highlights on a 3D material.*
The Roughness Slider vs. Texture Maps
If you select the Principled BSDF node in Blender, you will see a Roughness slider.
- A value of
0.0makes the object perfectly smooth and mirror-like (glossy). - A value of
1.0makes the object perfectly matte, scattering all light (rough).
While adjusting this slider is fine for background props, applying a single mathematical value across an entire object looks unnatural. Instead of a uniform value, you should plug a black-and-white image map into the Roughness input. In this map, black pixels (0.0) will render glossy, and white pixels (1.0) will render rough.
Step-by-Step: Adding Procedural Roughness
The fastest way to break up a smooth surface without hunting for external image files is by using Blender’s built-in procedural noise.
1. Set Up the Procedural Noise
- Open the Shader Editor with your object selected.
- Press
Shift + A, go to Texture, and add a Noise Texture node. - Plug the
Fac(Factor) output of the Noise Texture directly into theRoughnessinput of the Principled BSDF. - If you render now, you will see a subtle, cloudy variation in the glossiness.
2. Control the Contrast (The Secret Step)
Procedural noise is usually too low-contrast to look like convincing dirt or scratches. You must clamp the values.
- Press
Shift + A, go to Converter, and add a ColorRamp node. - Drop the ColorRamp directly on the line connecting the Noise Texture to the Principled BSDF.
- Slide the black and white flags on the ColorRamp closer together.
- The closer the flags are, the sharper the transition between the shiny and rough areas on your model.
Step-by-Step: Using Baked PBR Roughness Maps
For specific real-world materials like scratched metal or fingerprint-covered glass, procedural noise isn’t enough. You need baked PBR Roughness maps.
- Download a Roughness map (e.g.,
metal_roughness.jpg). - Drag and drop the image into your Shader Editor.
- CRITICAL STEP: Change the Color Space on the Image Texture node from
sRGBto Non-Color. If you skip this, Blender will apply gamma correction, and your roughness values will be mathematically incorrect. - Plug the
Coloroutput into theRoughnessinput of the Principled BSDF.
PBR Roughness Diagnostic Table
If your rough textures aren’t looking correct, consult this diagnostic matrix:
| Symptom (现象/报错) | Primary Cause (根本原因) | Immediate Solution (快速解决方案) |
|---|---|---|
| Material looks completely white/washed out | Color Space error | Change the Image Texture node’s Color Space to Non-Color. |
| Glossy areas look dull, rough areas look shiny | Map is inverted | Add an Invert node (Converter > Invert) between the Image Texture and the BSDF. |
| Roughness variations aren’t visible | Poor lighting | Roughness only reacts to light. Add a strong Point Light or an HDRI environment to see reflections. |
Generating Custom Roughness Maps
Sometimes you need a specific type of roughness—like dried water spots, heavy rust, or specific brush strokes—that you can’t easily find in generic asset libraries.
If you need to rapidly generate bespoke PBR roughness maps to add realistic wear and tear to your models, power up your pipeline with our Free Online Normal Map and PBR Generator — Try Scratched Metal. You can also generate fully tileable grungy backgrounds using our Seamless Texture Generator Online.
Related reading: Roughness Map Guide · How to Render Transparent Textures · Convert Albedo to Normal Map