
Nothing ruins an environment blockout or asset audit faster than opening a scene and seeing staring back at you that blinding magenta checkerboard pattern. Whether you are importing an FBX into Unity, opening a shared blend file in Blender, or loading a custom asset in Unreal Engine, that fluorescent pink warning is the universal signal for a missing texture reference.
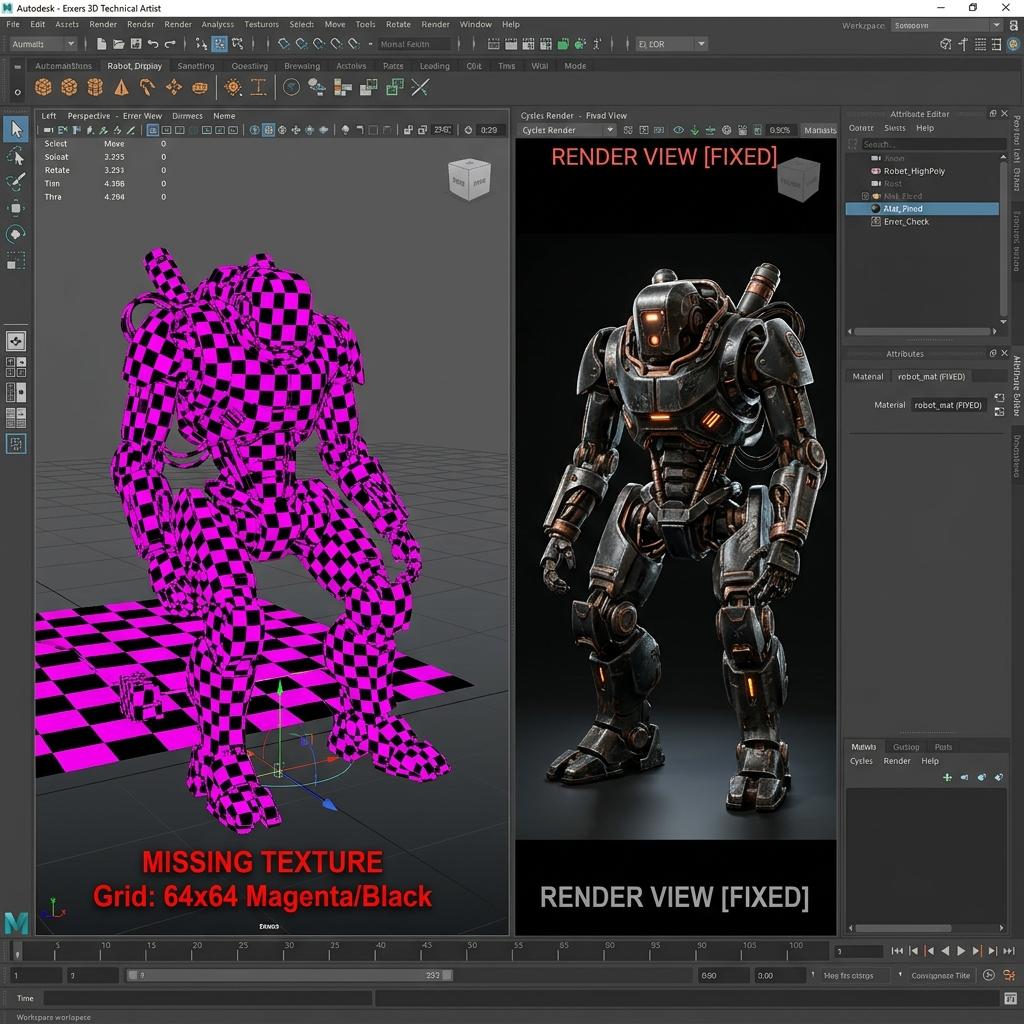
When a rendering engine cannot locate the physical bitmap filepath referenced by a material shader, it defaults to unlit magenta (RGB 1.0, 0.0, 1.0) so artists can spot broken references instantly.
Why 3D Engines Render Missing Textures as Magenta
In production pipelines, rendering engines deliberately replace broken image paths with high-contrast magenta (#FF00FF) instead of defaulting to black or white. This color rarely exists naturally in 3D scene compositions, making it impossible to overlook during QA inspections.
When a shader evaluates an Image Texture node whose disk file path is invalid, the texture sampler returns a fallback error color. Understanding why that path broke is the first step toward restoring your PBR material setup.
[Engine Texture Resolution Pipeline]
Shader Node (Albedo/Normal Map)
       │
       ├── Reads Absolute/Relative Path: "D:/Assets/Textures/Rock_Normal.png"
       │
       ▼
[File System Lookup Check]
       ├── Found? ──> [Sample Texels & Render Correct PBR Surface]
       └── Missing? ──> [Fallback Sampler: Render Flat Magenta #FF00FF]
5 Root Causes of Missing Texture Errors and Step-by-Step Fixes
1. Absolute Filepaths Across Different Workstations
When collaborating across team machines, artists frequently save texture maps using absolute OS drive paths. If an asset references C:\Users\Artist\Projects\Textures\Wall_BaseColor.png, opening that scene on another machine immediately breaks every material connection.
- Open your 3D application’s external data management panel.
- Switch all external asset links from Absolute to Relative paths before sharing project directories.
- In Blender, navigate to File > External Data > Make Paths Relative.
2. Unpacked Textures in Exported Archives
Exporting an asset as .obj or .fbx does not automatically embed your external PNG or JPG texture files unless your export settings explicitly pack material media.
- When exporting
.fbxfiles from Blender, set Path Mode to Copy and enable the Embed Textures icon button next to the dropdown. - Alternatively, bundle your asset folder structure so that the
/texturesdirectory sits adjacent to your mesh file before archiving.
3. Case-Sensitivity Conflicts on Linux and Cloud Build Servers
Windows file systems are case-insensitive (Normal_Map.png loads identically to normal_map.png). However, iOS, Android, Linux render farms, and cloud CI/CD pipelines use strict case-sensitive Unix systems.
- Audit your texture file extensions and filenames.
- Standardize your studio naming conventions to all-lowercase kebab-case or strict snake_case (
stone_wall_normal.png). - Verify that your material asset references match exact upper/lower casing down to the file extension.
4. Corrupted or Unsupported Image Color Profiles
Sometimes a texture exists at the correct filepath, but the rendering engine throws a missing texture exception because the image header uses an unsupported color space (such as CMYK print profiles instead of sRGB or linear RAW).
- Open the problematic texture in an image editor or inspect its metadata.
- Convert any CMYK or 16-bit float print profiles into standard 8-bit sRGB PNG or linear WebP formats.
- Reload the texture slot inside your shader editor.
5. Broken UV Map Identifiers After Geometry Merging
If you merge multiple meshes that use different UV map slot names (for example, UVMap versus UV_Channel_1), your shader node may fail to sample the texture coordinates, causing partial magenta or black rendering artifacts.
- Select your combined mesh and open the Object Data Properties tab.
- Under UV Maps, ensure only one active, correctly named coordinate channel drives your material nodes.
Diagnostic Reference Table: Missing Texture Symptoms
| Symptom (Error Appearance) | Primary Cause | Immediate Solution |
|---|---|---|
| Entire mesh renders glowing magenta | File path is broken or asset was moved/deleted | Re-link image filepath in Shader Editor or use Find Missing Files tool |
| Mesh turns pink only on Linux/Cloud builds | Case-sensitive filename mismatch (.PNG vs .png) | Rename texture files to match exact lowercase naming conventions |
| Black surface instead of magenta | Missing Normal Map or inverted surface normals | Verify Normal Map node connection; press Shift + N to recalculate face normals |
| FBX imports with blank white/grey materials | FBX exported without embedded texture binary data | Re-export FBX with Path Mode: Copy and Embed Textures enabled |
Specific Engine & Blender Troubleshooting Guides
Encountering rendering errors or missing shader controls in specific software? Explore our targeted software debugging tutorials:
- Blender Workflow Fixes: Missing Textures Button in Blender Panel · Textures Turn Black After Baking Fix · Transparent Texture No Shadow Error Fix · Replace Colors in Texture Paint Mode
- VRChat & Avatar Pipelines: Fix VRChat Avatar Invisible After Adding Texture
How to Prevent Missing Textures in Modern Workflows
To ensure zero texture link failures across professional pipelines, adopt an automated packing and validation protocol:
- Keep Textures Localized: Store every Albedo, Normal, Roughness, and Ambient Occlusion map inside a dedicated
//textures/subfolder relative to your scene file. - Pack External Data Before Archiving: In Blender, use File > External Data > Pack Resources to bundle critical textures directly into your
.blendfile when archiving standalone assets. - Use Automated Normal & PBR Generators: Instead of relying on fragile manual texture paths from scattered online repositories, generate clean, production-ready surface maps directly from pristine source images.
Create reliable, standardized surface textures for your projects without filepath errors. Generate Your Production-Ready Normal and PBR Maps Now — Try a Stone Wall or build custom surface libraries with our Create a Polished Seamless Concrete Texture Now.
Related reading: What is a Normal Map? · Fix VRChat Avatar Invisible After Adding Texture · Blender Textures Button Missing Fix · Blender Textures Turn Black After Baking Fix · Roughness Map Guide