
Creating geometric patterns procedurally in Blender’s Shader Editor offers infinite resolution and flexibility. While standard nodes like the Checker or Brick texture are built-in, there is no default “Triangle” node. If you want a repeating triangle grid for a sci-fi floor, architectural paneling, or fabric pattern, you must build it using mathematical operations.
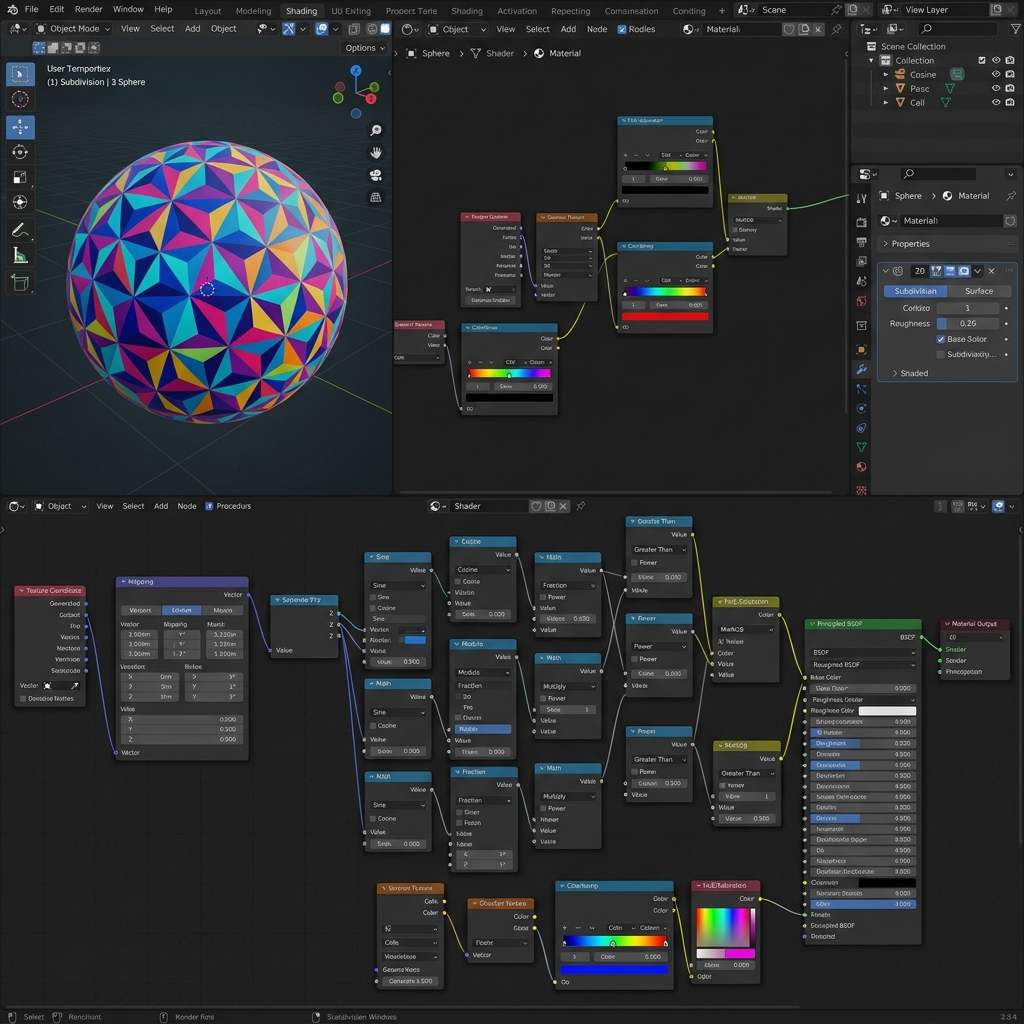 *Combining Voronoi Distance metrics with Vector Math is the most efficient way to generate procedural triangles.*
Understanding the Math Behind the Shader
To create a triangle, we need to manipulate the coordinate space. We take standard 2D UV coordinates and apply mathematical functions (like Modulo and Absolute) to fold the space back on itself. Alternatively, we can use the specific distance metrics available in the Voronoi Texture node to generate sharp, triangular intersections.
Step-by-Step Triangle Node Setup
This workflow uses Blender 4.x’s Voronoi texture node, taking advantage of its distance calculations to rapidly produce a triangle grid.
1. Generating the Base Grid
- Open the Shader Editor and add a
Texture Coordinatenode (Shift + A > Input > Texture Coordinate). - Add a
Mappingnode and connect theUVoutput from the Texture Coordinate to theVectorinput of the Mapping node. - Add a
Voronoi Texturenode (Shift + A > Texture > Voronoi Texture). - Change the distance metric on the Voronoi node from
EuclideantoChebyshev. - Connect the
Vectoroutput from the Mapping node to theVectorinput of the Voronoi node. - Connect the
Distanceoutput of the Voronoi node to theBase Colorof your Principled BSDF.
At this point, you will see a grid of squares containing diamond shapes.
2. Angling the Space into Triangles
To turn these squares into a triangle grid, we need to shear the coordinate space.
- Add a
Vector Mathnode (Shift + A > Converter > Vector Math) and drop it between your Mapping node and the Voronoi Texture node. - Change the Vector Math operation from
AddtoMultiply. - Set the XYZ values of this Multiply node to
X: 1.0,Y: 1.732, andZ: 1.0. (Note: 1.732 is the square root of 3, which is mathematically required to create perfect equilateral triangles). - Now, add a
Mathnode (Shift + A > Converter > Math) and place it after the Voronoi Texture’sDistanceoutput. - Change the operation to
Greater Than. Set the Threshold to0.5.
You now have a crisp, black-and-white mask of repeating equilateral triangles.
3. Adding Color and Bump
- Add a
Mix Colornode (Shift + A > Color > Mix Color). - Plug the output of your
Greater Thannode into theFactor(Fac) input of the Mix node. - Choose your two desired colors (e.g., Gold and Dark Grey) for Input A and Input B. Plug this into the
Base Colorof the Principled BSDF. - To give the triangles physical depth, plug the
Distanceoutput from the Voronoi node into aBumpnode’sHeightinput, and route that to theNormalinput of the Principled BSDF.
Shader Diagnostic Reference Table
If your node setup isn’t looking like perfect triangles, check these common errors:
| Symptom (现象/报错) | Primary Cause (根本原因) | Immediate Solution (快速解决方案) |
|---|---|---|
| Triangles are stretched or squashed | Missing the 1.732 multiplier | Ensure your Vector Math Multiply node has the Y value set exactly to 1.732. |
| Grid looks like blurry blobs instead of sharp edges | Missing the Greater Than threshold | Add a Math node set to Greater Than after the Voronoi distance output to clamp the gradient into sharp edges. |
| Pattern doesn’t wrap correctly around the model | Wrong Texture Coordinate input | Ensure you are using UV coordinates. If your model lacks UVs, use Generated but the pattern may stretch on certain axes. |
Expanding Your Procedural Materials
Procedural nodes are incredibly powerful, but complex math setups can slow down viewport performance and increase render times. For complex geometric surfaces, combining a simple procedural base with baked textures is often the best approach for game engines and high-end rendering.
If you need to rapidly generate complex geometric normal maps and PBR textures without building massive node trees, power up your pipeline with our Free Online Normal Map and PBR Generator — Try Sci-Fi Panels. You can also generate fully tileable architectural patterns using our Seamless Texture Generator Online.
Related reading: What is a Normal Map? · Roughness Map Guide · Image to Normal Map Converter