
Modding Bethesda games like Skyrim or Fallout often requires tweaking existing assets. You open a .nif file in NifSkope, find a great weapon or armor piece, and want to edit its texture. The problem? NifSkope is primarily a mesh viewer, not an unpacker, making it confusing to pull those texture files out directly.
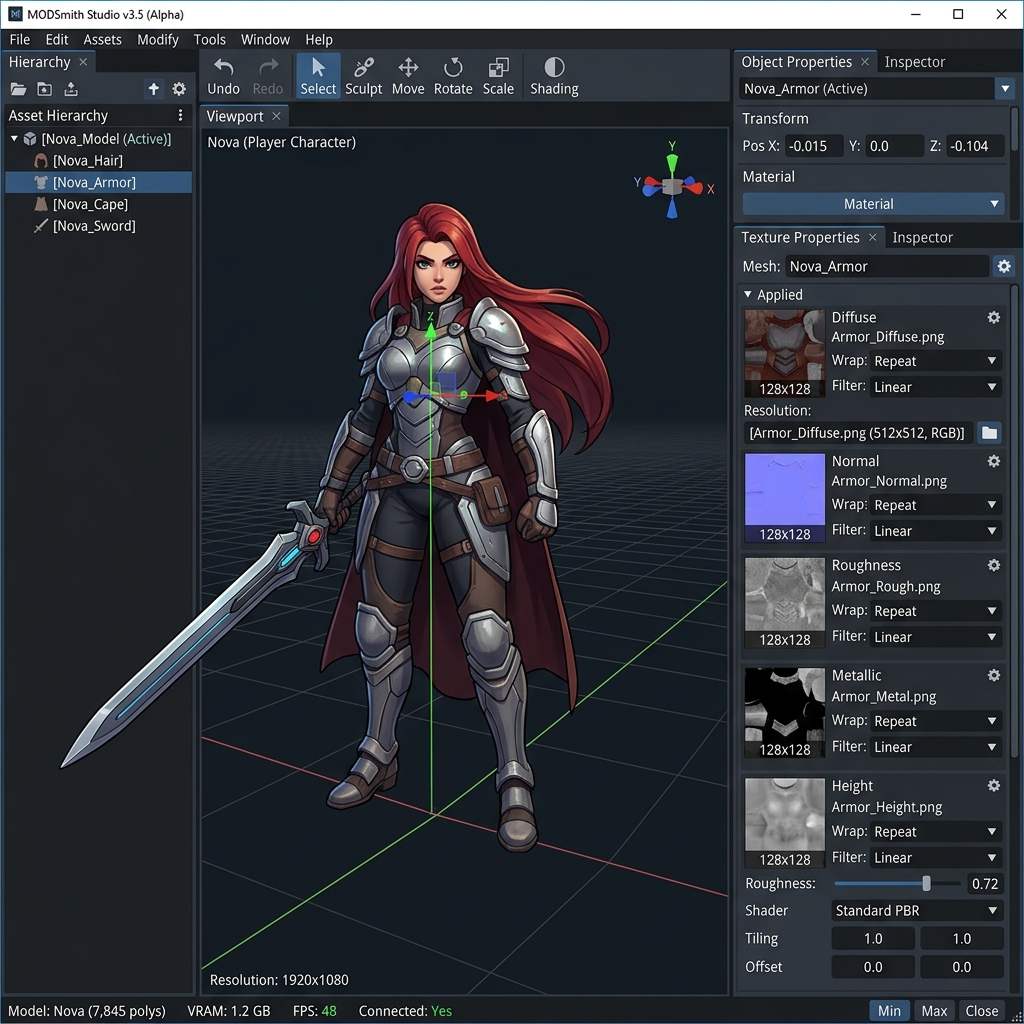 *Finding the exact texture path in NifSkope's Block List is the first step to successful asset extraction.*
Why Direct Extraction Isn’t Obvious
Unlike modern 3D packages where textures are neatly packed into a .blend or .fbx file, the Creation Engine uses .nif files to store 3D geometry and shader data, but the actual image files (usually .dds format) are stored externally in massive .bsa or .ba2 archives.
NifSkope simply points to these external files. To “extract” a texture, you first need to identify its filepath within the .nif, and then extract the actual image from the game’s root archives using a specialized unpacking tool.
Step-by-Step Texture Extraction
1. Locate the Texture Path in NifSkope
First, we need to find exactly which texture the model is using.
- Open your model in NifSkope.
- In the 3D viewport, click on the specific mesh part you want to extract textures for.
- In the Block List window, expand the
NiTriShapeorBSTriShapenode. - Expand the
BSLightingShaderPropertynode. - Click on
BSShaderTextureSet. - Look at the Block Details window at the bottom. Expand the
Texturesarray. - You will see a list of file paths (e.g.,
textures\weapons\iron\ironsword.dds). Copy this exact path.
2. Unpack the BSA/BA2 Archive
Now that you know the path, you need to extract the physical file from the game’s data folder. NifSkope cannot do this for you.
- Download and open Bethesda Archive Extractor (BAE).
- Drag and drop your game’s main texture archives (e.g.,
Skyrim - Textures0.bsa) into the BAE window. - Use the search bar in BAE to paste the path you copied from NifSkope (e.g.,
ironsword.dds). - Check the box next to the found file.
- Click Extract and choose a destination folder on your desktop.
Modding Diagnostic Reference Table
If your extracted textures look wrong or fail to load in other software, consult this diagnostic table:
| Symptom (现象/报错) | Primary Cause (根本原因) | Immediate Solution (快速解决方案) |
|---|---|---|
| Texture looks completely purple in game | Missing texture file or incorrect path | Ensure the exported .dds is placed in the exact Data\textures\... folder path matching NifSkope. |
| Normal map looks flat or lighting is inverted | DirectX vs OpenGL format mismatch | Skyrim uses DirectX normal maps. Invert the Green channel of your normal map in Photoshop. |
| Extracted file won’t open in Photoshop | Missing .dds plugin | Install the Intel Texture Works or NVIDIA Texture Tools plugin for Photoshop. |
Creating Custom Textures for Your Mods
Once you have extracted the base textures, you might want to create entirely new, high-resolution replacements. For example, upgrading a low-res iron sword to a realistic, weathered steel surface.
If you need to rapidly generate custom normal maps and PBR textures for your mods, power up your pipeline with our Free Online Normal Map and PBR Generator — Try Weathered Steel. You can also generate fully tileable background materials for level design using our Seamless Texture Generator Online.
Related reading: What is a Normal Map? · Image to Normal Map Converter · Convert Albedo to Normal Map