
Modding the neon-soaked streets of Night City with 4K textures and custom materials can completely transform your Cyberpunk 2077 experience. However, getting material overrides to load correctly requires a specific folder structure and understanding of the REDengine archive system.
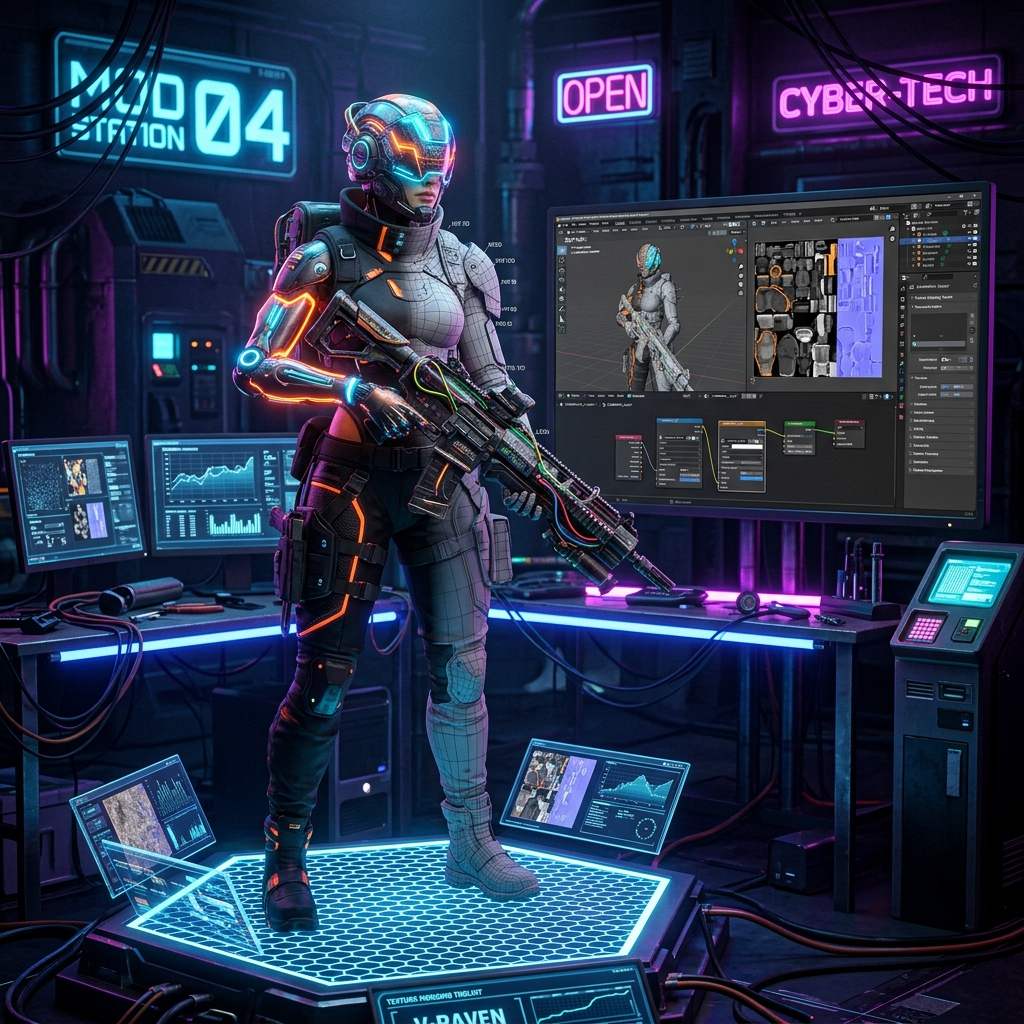 *Applying texture overrides in Cyberpunk 2077 replaces the vanilla low-resolution maps with high-fidelity PBR materials.*
Why Texture Mods Fail to Load
Unlike traditional PC games where you can just drop a .png or .dds file into a textures folder, Cyberpunk 2077 uses packed .archive files. If a texture mod fails to load, it is almost always because the .archive file is placed in the wrong directory, or a required dependency (like Cyber Engine Tweaks or Material and Texture Override frameworks) is missing.
If you place a mod in the old legacy patch folder instead of the modern mod folder, the game engine will completely ignore the override.
Step-by-Step Installation Guide
1. Install Required Dependencies
Before installing any visual mods, you must install the core framework that allows the game to load external textures.
- Download Material and Texture Override from Nexus Mods.
- Download Cyber Engine Tweaks (CET), which is often required for script-based material injectors.
- Extract these files into your root
Cyberpunk 2077installation directory.
2. Manual Installation of Texture Archives
If you prefer installing mods manually without a mod manager like Vortex, follow these precise paths:
- Locate your downloaded texture mod (it should contain a
.archivefile). - Navigate to your game folder:
\Cyberpunk 2077\archive\pc\mod\. - If the
modfolder does not exist inside thepcdirectory, create it manually. - Copy the
.archivefile directly into themodfolder.
3. Fixing Load Order Conflicts
When multiple mods attempt to override the same character skin or weapon texture, Cyberpunk 2077’s REDengine uses a last-wins load order: files that are loaded later (alphabetically later in the mod folder) take priority over those loaded earlier.
- Navigate to your
archive\pc\mod\folder. - If you want your specific 4K face texture to override a conflicting body mod, rename your file to use a late-alphabet prefix such as
zz_at the beginning of the filename (e.g.,zz_MyCustomTexture.archive). - The engine loads
.archivefiles in alphabetical order, sozz_loads last and wins any conflicts. Using00_prefix would cause your file to load first — meaning any other mod loaded after it would override yours instead.
Quick rule: Want your mod to win? Rename it with
zz_. Want a mod to load early (as a base other mods can override)? Use00_.
Mod Troubleshooting Reference Table
| Symptom (Error) | Primary Cause | Immediate Solution |
|---|---|---|
| Textures appear pixelated or missing | Mod placed in legacy patch folder | Move the .archive file to archive\pc\mod\ |
| Skin looks completely black | Conflicting material overrides | Check for duplicate mods and rename your preferred archive with 00_ |
| Game crashes on startup | Outdated mod for current patch | Verify the texture mod is updated for your specific game version (e.g., Patch 2.1) |
Elevating Your Cyberpunk Mods
If you are a modder looking to create your own Cyberpunk 2077 weapon or clothing textures, having crisp, high-resolution Normal Maps is essential for that gritty sci-fi look.
If you need to rapidly generate sci-fi paneling, carbon fiber, or synthetic leather normal maps, power up your pipeline with our Free Online Normal Map and PBR Generator — Try Sci-Fi Metal. You can also generate fully tileable cyberpunk environmental surfaces using our Seamless Texture Generator Online.
Related reading: Best Normal Map Creator Online · Metallic Map Guide · How to Create Normal Map From Photo