
Game developers working on modding or remastering older titles frequently face the challenge of updating hundreds, or even thousands, of low-resolution “vanilla” textures. Opening these 64x64 pixel files one by one to upscale them and generate normal maps is a brutal, time-consuming process.
Learning how to use actions and stuff with vanilla textures—specifically batch processing scripts and automation tools—is mandatory for modernizing classic game assets efficiently.
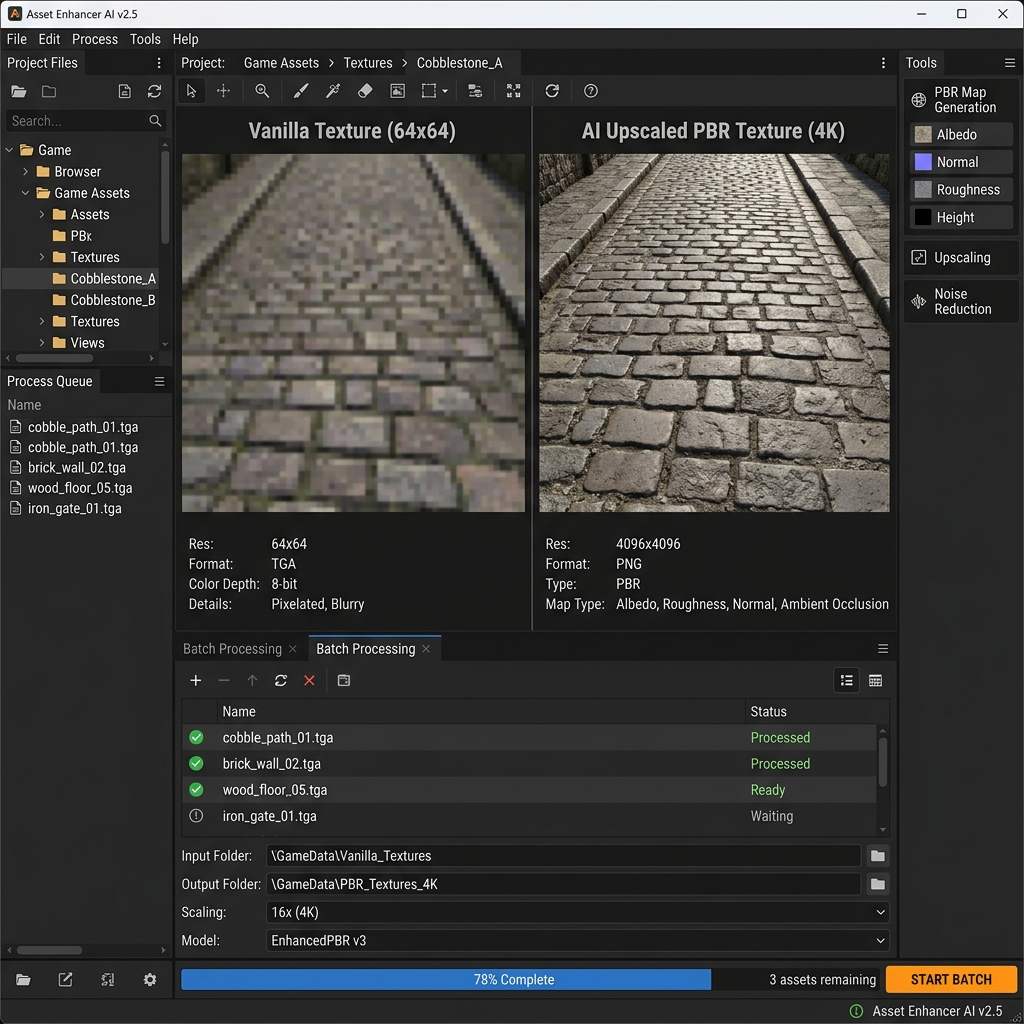 *Batch processing actions allow you to point a software tool at a folder of vanilla textures and automatically output 4K PBR-ready materials.*
The Problem with Vanilla Textures
“Vanilla textures” refer to the original, unmodified image files shipped with older games (like Minecraft, Skyrim, or retro PS2 titles). These textures suffer from three major issues:
- Low Resolution: Often strictly limited to powers of two (64x64, 256x256).
- Flat Lighting: Baked-in shadows rather than physical properties.
- Missing Maps: They only contain diffuse (color) data; they completely lack Normal, Roughness, and Metallic maps required by modern rendering engines.
To fix these issues at scale, you must utilize “Actions” (automated macros in Photoshop) or dedicated batch-processing software.
Step-by-Step: Setting Up a Batch Action in Photoshop
If you want to manually clean up vanilla textures without AI, Photoshop Actions are the industry standard for automation.
1. Record the Action
- Open a single vanilla texture (e.g.,
cobblestone.png) in Photoshop. - Open the Actions Panel (
Window > Actions). - Click the folder icon to create a new Set, then click the
+icon to create a New Action. Name it “Vanilla Upscale”. - Click Record.
- Perform your desired steps: Go to
Image > Image Size, set it to 400%, and change Resample to Preserve Details 2.0 or Nearest Neighbor (for pixel art). - Apply a mild Smart Sharpen filter to recover edge data.
- Click the square Stop button in the Actions panel.
2. Run the Batch Process
- Go to File > Automate > Batch.
- Select your “Vanilla Upscale” action from the dropdown menu.
- For the Source, choose the folder containing all 500 of your vanilla textures.
- For the Destination, choose a new empty output folder.
- Click OK. Photoshop will now automatically open, upscale, sharpen, and save every single texture in that folder.
Batch Processing Diagnostic Table
When automating texture workflows, things can occasionally go wrong. Consult this matrix:
| Symptom (现象/报错) | Primary Cause (根本原因) | Immediate Solution (快速解决方案) |
|---|---|---|
| Pixel art textures look blurry after upscale | Wrong resampling method | In your Action, ensure Image Size resampling is set strictly to Nearest Neighbor (Hard Edges). |
| Batch process stops and asks for save options | Save dialog not overridden | Check “Override Action ‘Save As’ Commands” in the Automate > Batch menu. |
| Textures have glowing white edges | Over-sharpening | Reduce the radius on the Smart Sharpen filter in your recorded Action to 1.0px or less. |
Automating PBR Map Generation
Upscaling the vanilla textures is only half the battle. To make them look good in a modern game engine like Unity or Unreal, you need Normal and Roughness maps. Running Photoshop filters for this is often inaccurate.
If you need to rapidly generate accurate physical maps for your upscaled vanilla assets, power up your pipeline with our Free Online Normal Map and PBR Generator — Try Retro Stone. You can also generate entirely new, photorealistic replacement textures using our Seamless Texture Generator Online.
Related reading: Make Image Seamless Online · Convert Albedo to Normal Map · What is a Normal Map?