
Flat, perfectly smooth paint rarely exists in the real world. Whether you are rendering a classical oil painting with thick impasto brush strokes, or an architectural visualization of a rough stucco exterior wall, knowing how to make textured paint materials is essential for adding physical volume and tactile realism to your 3D scenes.
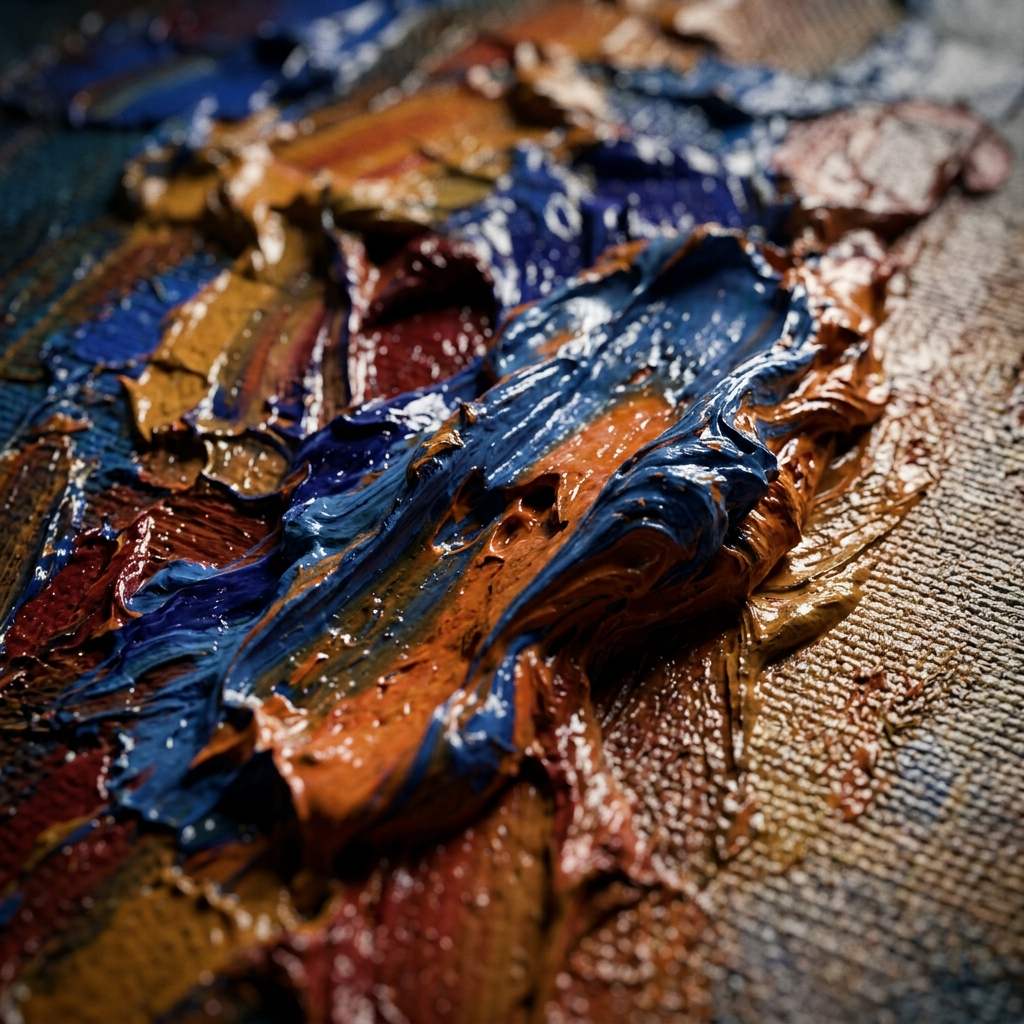 *Thick textured paint requires aggressive normal mapping and proper roughness values to catch the light realistically.*
The Secret to Textured Paint: Micro-Shadows
The illusion of thick, textured paint (like acrylics or stucco) is not created by the Base Color. If you simply paint a bumpy pattern onto your Albedo map, it will look like a flat photograph wrapped around your 3D model.
The physical volume of textured paint is entirely driven by how it reacts to lighting. This means you must rely heavily on Normal Maps (for fine, high-frequency details like brush strokes) and Displacement Maps (for large, structural height changes like heavy spackling).
PBR Configuration for Textured Paint
When configuring your Principled BSDF or standard PBR shader for textured paint, the physical properties must reflect the type of paint you are mimicking. Paint is a dielectric (non-metal) material, meaning its Metallic value should always be zero.
PBR Reference Table: Oil vs. Stucco
Use these parameters as a baseline for your textured paint materials:
| Parameter (参数指标) | Oil Paint (Impasto) | Exterior Stucco / Plaster | Technical Rationale (物理渲染原理) |
|---|---|---|---|
| Base Color (Albedo) | Vibrant, high saturation | Desaturated, earthy tones | Keep Albedo values below pure white (0.8 max) to prevent blown-out lighting. |
| Metallic | 0.0 | 0.0 | Paint is 100% dielectric. Never add metallic values to standard paint. |
| Roughness | 0.2 to 0.4 (Glossy) | 0.7 to 0.9 (Matte) | Oil paint contains resins that dry glossy. Stucco is porous and scatters light. |
| Normal Strength | 0.8 to 1.0 | 1.0 | Essential for simulating the physical ridges of the brush strokes or trowel marks. |
| IOR (Index of Refraction) | 1.50 | 1.45 | Standard refractive index for polymers and dry binders. |
Workflow: Applying Texture to Paint
If you want to create a textured paint material from scratch in your 3D software, follow this standard workflow:
1. Generating the Height Information
The easiest way to generate the bumpiness of paint is by using procedural noise. In Blender, for example:
- Add a
Musgrave TextureorNoise Texturenode. - Connect this noise to a
ColorRampto increase the contrast. - Plug the ColorRamp output into a
Bumpnode’s Height input. - Connect the Bump node to the Normal input of your shader.
For thick oil paint, stretch the noise along one axis (using a Mapping node) to simulate directional brush strokes. For stucco, use a fine, high-scale, uniform noise.
2. Using High-Quality Normal Maps
Procedural noise is fast, but it rarely looks perfectly organic. For true photorealism, you need baked normal maps derived from actual scans of paint strokes, or AI-generated normal maps specifically designed to mimic heavy impasto or plaster.
Instead of building complex procedural setups, simply plug a dedicated paint normal map into your shader and adjust the strength.
Rapidly Generating Custom Paint Textures
Finding the exact style of paint stroke or plaster grit in standard asset libraries can be difficult.
If you need to rapidly generate bespoke, production-ready paint materials, power up your pipeline with our Free Online Normal Map and PBR Generator — Try Heavy Impasto Paint. You can also generate fully tileable architectural finishes using our Seamless Texture Generator Online.
Related reading: What is a Normal Map? · Roughness Map Guide · Convert Albedo to Normal Map