
In architectural visualization (ArchViz), applying a flat white color to interior walls results in renders that look clinical, artificial, and devoid of scale. Real-world drywall is rarely perfectly flat; it is usually finished with a texture to hide drywall tape and imperfections.
One of the most common interior finishes is the Knockdown Texture—a mottled, stucco-like pattern created by spraying drywall joint compound and then “knocking it down” (flattening the peaks) with a wide trowel. Recreating this specific physical volume in 3D requires a precise combination of seamless Normal Maps and specific PBR settings.
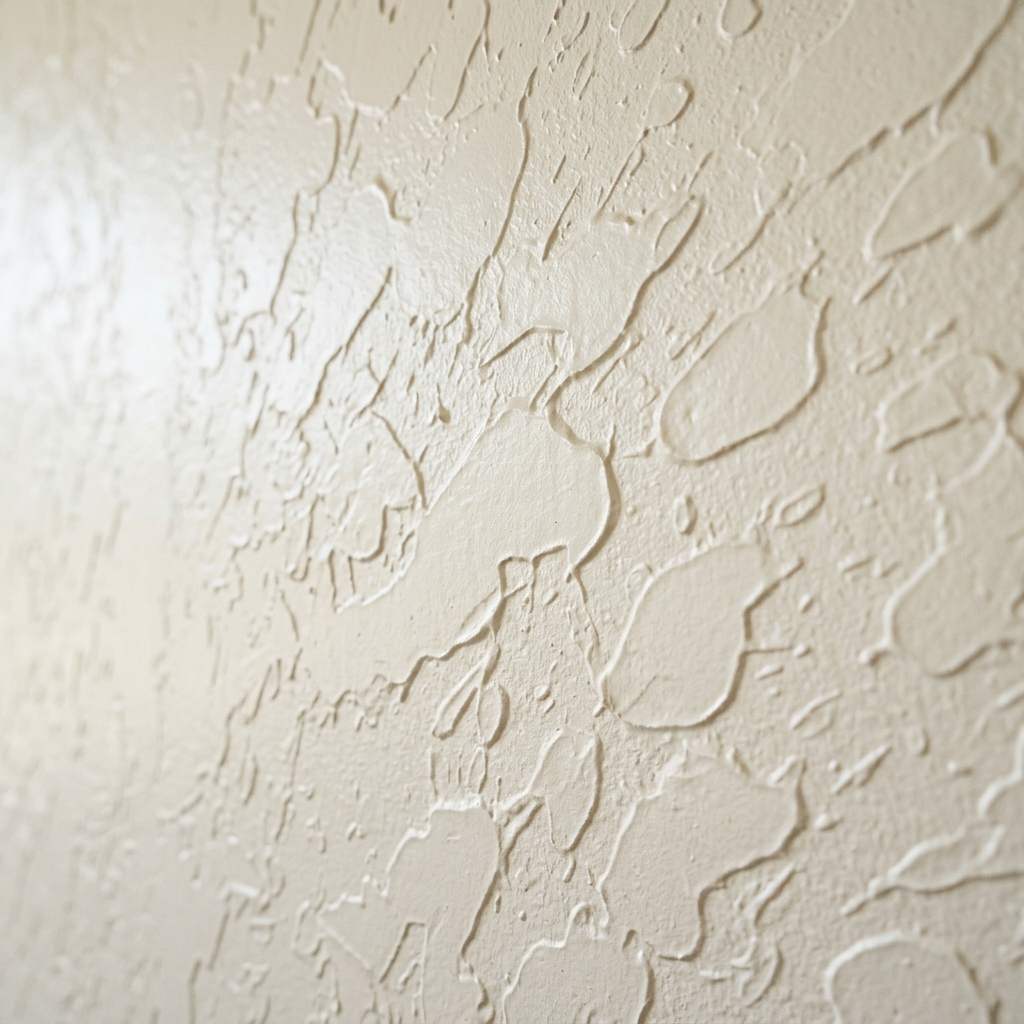 *A high-quality normal map is required to simulate the flattened peaks characteristic of real knockdown drywall.*
The Illusion of Depth: Normal Maps
Because knockdown texture consists of thousands of tiny, irregular bumps, modeling this geometry with actual polygons would instantly crash your 3D software. Instead, you must use a Normal Map.
A Normal Map is a purple-and-blue image that fakes the lighting of 3D bumps on a perfectly flat polygon plane. When light hits the wall in your 3D scene, the Normal Map tells the render engine to cast micro-shadows as if the flattened stucco bumps actually existed.
Step-by-Step: Applying Knockdown Texture
Whether you are using Blender, 3ds Max (V-Ray/Corona), or Unreal Engine, the workflow for applying drywall texture remains identical.
1. Source a Seamless Texture
You cannot use a standard photograph of a wall. You must use a Seamless (Tileable) Normal Map specifically designed to mimic knockdown plaster. If the image is not seamless, you will see a harsh grid pattern repeating across your walls.
2. Configure the PBR Shader
- Create a new material and assign it to your interior wall meshes.
- Set the Base Color (Albedo) to your desired wall paint color (e.g., Eggshell White: RGB
0.85, 0.85, 0.80). - Set the Metallic value to
0.0. Drywall and paint are 100% dielectric. - Set the Roughness value high, usually between
0.6and0.85. Interior latex paint is mostly matte, though eggshell or satin finishes will have slight glossy reflections (0.6). - Connect your Knockdown Normal Map to the Normal input of your shader. (In Blender, route it through a
Normal Mapnode first, ensuring the Image Texture is set toNon-Colordata).
3. Adjust the UV Scale
The most common mistake in ArchViz is improper scale. If your knockdown bumps are the size of golf balls, the room will look like a miniature dollhouse.
- Apply a UV Map modifier to your walls (or unwrap them).
- Adjust the UV Tiling/Scale until the texture density matches the real world. You should barely be able to see the individual bumps unless the virtual camera is very close to the wall.
ArchViz Wall Texture Reference Table
Use these baseline PBR values for different types of interior wall finishes:
| Wall Finish (墙面类型) | Roughness (粗糙度) | Normal Strength (法线强度) | Technical Rationale (物理渲染原理) |
|---|---|---|---|
| Flat Matte Paint | 0.9 | 0.1 | Almost no reflection; absorbs light. Needs very weak bump. |
| Knockdown (Satin Paint) | 0.65 | 0.8 to 1.0 | Slight sheen catches the flattened peaks of the plaster. |
| Heavy Orange Peel | 0.7 | 0.5 | Dense, uniform circular bumps. Normal map must be tiled heavily. |
Generating Architectural Wall Textures
Finding the exact style of knockdown, orange peel, or Venetian plaster in generic material libraries can be frustrating when a client demands a specific finish.
If you need to rapidly generate bespoke, production-ready wall finishes for your ArchViz projects, power up your pipeline with our Free Online Normal Map and PBR Generator — Try Venetian Plaster. You can also generate fully tileable drywall patterns using our Seamless Texture Generator Online.
Related reading: Concrete Texture Seamless Guide · What is a Normal Map? · Roughness Map Guide