
While AI and procedural generation have drastically changed how artists approach material creation, knowing how to draw textures by hand remains a critical skill for stylized games, anime renders, and hero asset detailing. Hand-painted textures carry a human touch and specific art direction that math-based procedural nodes simply cannot replicate.
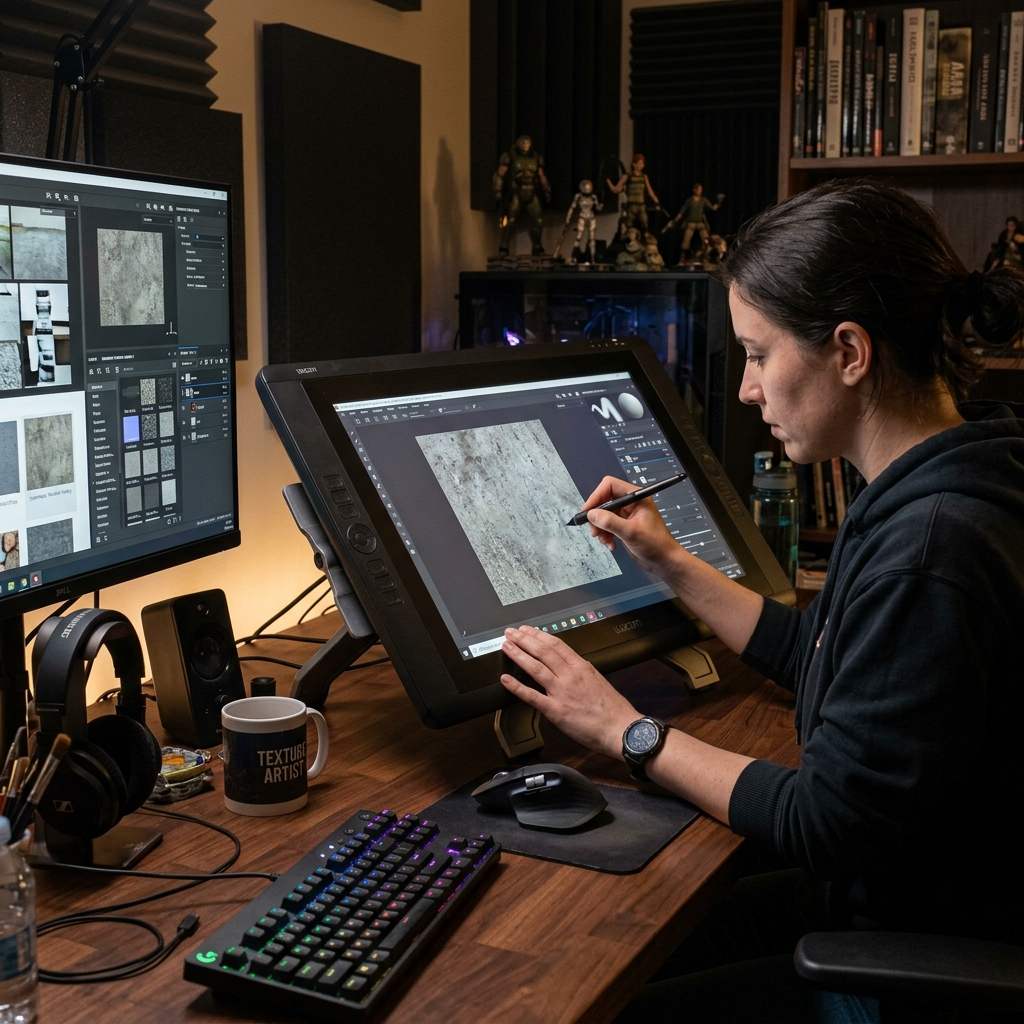 *Hand-painting textures requires an understanding of how light interacts with volume, even if the final texture is completely flat (diffuse only).*
Core Principles of Drawing Textures
When learning how to draw textures, beginners often focus too much on tiny details (like individual wood grains or pores) before establishing the broader forms. A successful texture is built in layers, moving from macro shapes down to micro details.
1. Start with the Base Silhouette and Color Block
Never start drawing details on a blank white canvas.
- Fill your canvas with a solid mid-tone that represents the average color of the material (e.g., a desaturated brown for wood).
- Block in the largest shapes and color variations using a large, soft brush.
- Identify the light source. Even if you are painting a flat texture, imagining a directional light helps you establish where shadows will pool in cracks and where highlights will hit ridges.
2. Add Macro Details and Variation
Once the base is blocked in, start building the material’s character.
- Switch to a textured brush that mimics the material (e.g., a scatter brush for dirt or a hard square brush for chiselled stone).
- Create a new layer set to
Multiplyand paint ambient occlusion (AO) in the deep crevices. - Create a new layer set to
OverlayorSoft Lightto inject color variations (like mossy greens on a stone or rust reds on metal).
3. Polish with Micro Details and Edge Highlights
This is where the texture truly pops.
- Use a hard, fine brush to paint edge wear and scratches. Set this layer to
ScreenorColor Dodge. - Keep details concentrated in logical areas: edges of armor, corners of walls, and contact points. Avoid scattering details evenly, which results in visual noise.
Digital Painting Software Workflow Table
Different software excels at different parts of the texture drawing process.
| Software | Primary Strength | Best For |
|---|---|---|
| Photoshop / Clip Studio | Layer management and advanced brush engines | 2D stylized textures, UI elements, and base tiling |
| Substance Painter | 3D projection and PBR channel packing | Realistic weathering, baking AO, and PBR workflows |
| Blender (Texture Paint) | Direct 3D mesh interaction | Seam fixing, quick stencils, and low-poly retro art |
Bridging Hand-Drawn Art with PBR
A beautiful hand-painted diffuse map is only step one in modern rendering. To make your 2D painting react to 3D lighting, you must extract Normal and Roughness maps from it.
If you have finished drawing your texture and need to rapidly convert it into 3D-ready maps, power up your pipeline with our Free Online Normal Map and PBR Generator — Try Converting Your Art. If you need to generate base patterns to paint over, try our Seamless Texture Generator Online.
Related reading: Blender Texture Paint Tutorial and Workflow Guide · Image to Normal Map Converter · What is a Tileable Texture?