
In modern interior design and architectural visualization (ArchViz), few finishes convey luxury and minimalist elegance quite like a polished grey lacquer texture. Whether applied to high-end kitchen cabinetry, floating credenzas, or back-painted glass partitions, lacquered surfaces dominate contemporary residential rendering.
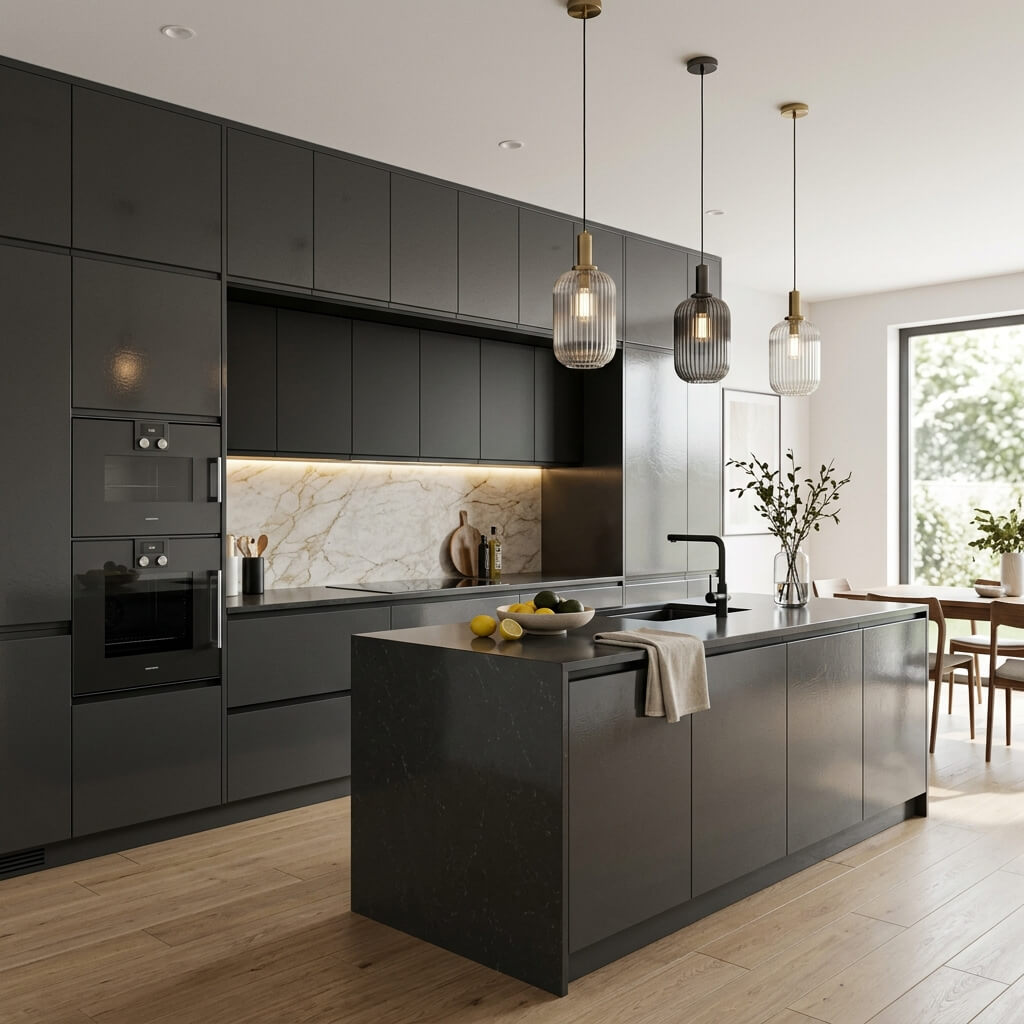
A well-crafted grey lacquer PBR material balances mirror-like specular reflections with realistic micro-surface imperfections to avoid looking like cheap plastic.
However, rendering lacquer in 3D engines is notoriously tricky. If your roughness is too low (0.0), the furniture looks like a flawless mirror or floating chrome; if your roughness is too high, it turns into standard matte latex paint. Achieving true photorealism requires understanding the optical anatomy of multi-layered enamel finishes.
The Optical Anatomy of Lacquer and Painted Glass
Real-world lacquer consists of a solid pigmented base coat (often slate grey, charcoal, or greige) covered by multiple layers of polished, transparent acrylic or polyurethane topcoat. This creates a distinct dual-layer reflection profile:
- The Clearcoat Reflection: A sharp, high-gloss reflection on the very top of the clear finish.
- The Sub-Surface Diffusion: A softer, slightly scattered color absorption beneath the varnish layer.
To replicate this in a standard PBR shader (such as Unreal Engine’s Principled Material, Blender’s Principled BSDF, or V-Ray Material), you cannot rely on a static, uniform roughness number. You must use a subtle roughness map paired with proper Fresnel reflectivity.
Standard PBR Shader Values for Grey Lacquer
When setting up your base material parameters, use these industry-tested benchmarks as your starting foundation:
| Parameter | Recommended Value | Technical Rationale |
|---|---|---|
| Base Color (Albedo) | RGB (0.18, 0.20, 0.22) | Medium-dark charcoal/slate grey. Keep saturation low (< 15%) for modern Nordic or Italian aesthetics. |
| Metallic | 0.0 (Strictly non-metal) | Lacquer and back-painted glass are dielectric materials. Never use metallic sliders for gloss! |
| Roughness | 0.04 to 0.08 | Extremely glossy, but never absolute zero. Pure zero causes CGI sterility. |
| Index of Refraction (IOR) | 1.50 to 1.53 | Standard acrylic and polyurethane clearcoat IOR range. |
| Clearcoat (if supported) | 1.0 (Roughness 0.02) | Adds the secondary top-layer varnish glint over the primary surface. |
Breaking CGI Sterility: Adding Micro-Surface Imperfections
The biggest mistake artists make when rendering a seamless grey lacquer texture is leaving the normal and roughness channels entirely blank. In reality, even factory-sprayed cabinet doors exhibit two subtle physical phenomena: Orange Peel and Wipe Marks.
1. Simulating “Orange Peel” with a Normal Map
When polyurethane lacquer cures, surface tension creates microscopic, undulating ripples known in the automotive and furniture industries as “orange peel.”
- To simulate this without modifying geometry, generate a very soft, high-frequency procedural noise or plaster texture.
- Pass it through our Online Normal Map Generator — Try Polished Lacquer Panel with a low strength (
0.5 - 1.0) and high blur radius. - Plug this into your normal channel at
5%to10%opacity. This causes straight window reflections to warp slightly as they pan across the cabinet surface, selling the physical reality of sprayed paint.
2. Fingerprints and Cleaning Swirls in the Roughness Map
Never use a flat color float for your lacquer roughness. Instead, take a high-resolution smudge or microfiber cloth wipe pattern:
- Map the cleanest areas to a roughness value of
0.04. - Map the subtle oily smudges or cleaning swirls to
0.09. - This 5% roughness variance is invisible in direct shadow, but when a bright window or chandelier highlight glints across the grey lacquer, the wipe trails catch the light and create breathtaking photorealism.
How to Create Seamless Lacquer & Glass Textures Online
Need to generate custom-tinted lacquer albedo textures or convert surface smudge photos into seamless roughness and normal maps for your architectural library?
You can process any finish photograph or procedural pattern using our Seamless Grey Lacquer Texture Generator — turning raw lacquer photographs into studio-ready PBR material sets. Previously:
- Upload your base texture or generate one using our integrated AI tools.
- Apply the Delight filter to remove unwanted studio flash hotspots.
- Use the Make Seamless algorithm to ensure infinite tiling across large kitchen walls or office panels without grid repetition.
- Extract synchronized Normal and Roughness maps with one click.
Related reading: Roughness Map — The Complete PBR Guide · Normal Map Fundamentals · Seamless Texture Generator Online · What is a Tileable Texture?