
If you are following an older Blender tutorial or switching between different release versions, you might suddenly notice that the familiar checkered Textures button has vanished from your Properties sidebar. Searching for a missing UI icon slows down your material workflow and can leave you wondering if your installation is corrupted.
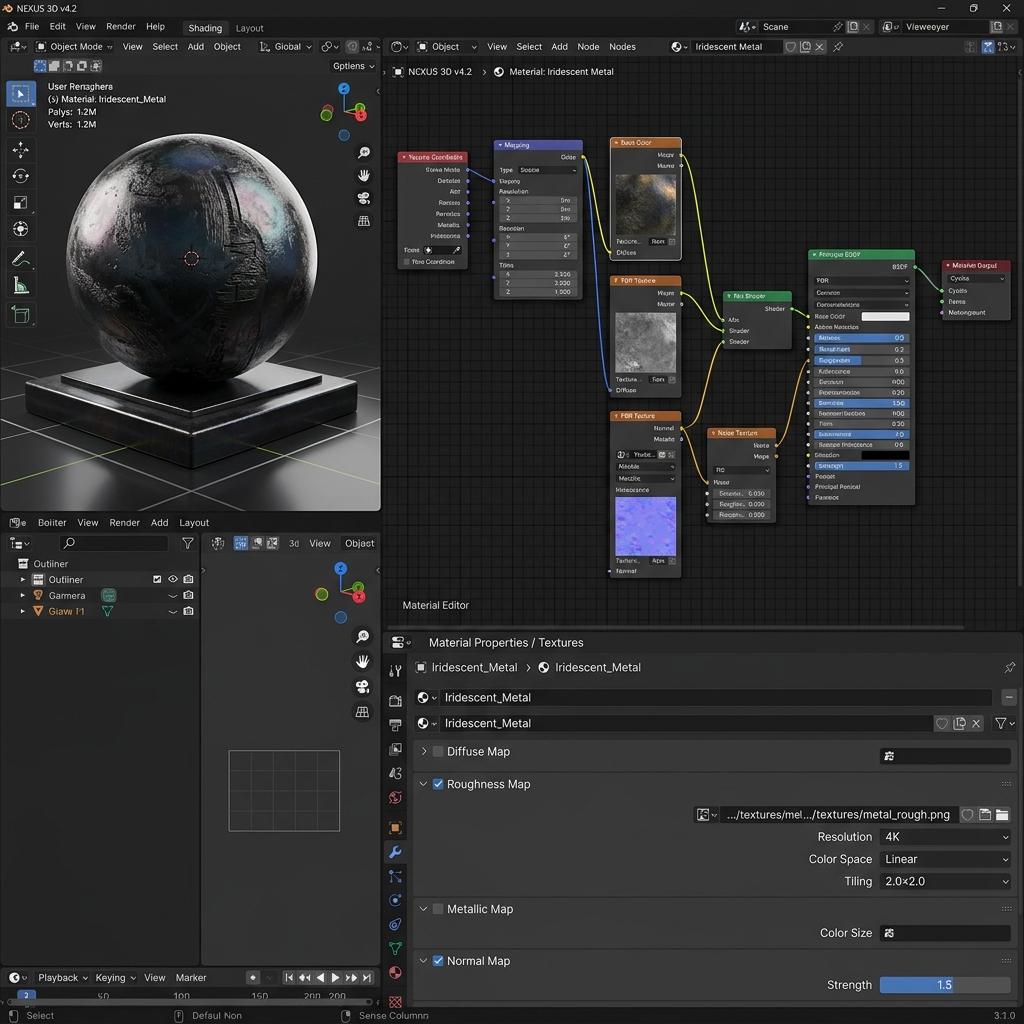
In modern Blender releases, material texture assignment shifted from the classic Properties tab directly into node-based Shader Editor workflows.
Why the Blender Texture Tab Disappeared from Your Sidebar
In legacy Blender releases (versions prior to 2.8), every material image map was added and configured inside a dedicated Texture Properties tab marked by a red-and-white checkerboard icon.
With the introduction of node-based PBR materials in modern Blender 3.x and 4.x architectures, surface textures (Albedo, Normal, Roughness) are managed inside the Shader Editor. Today, the checkerboard Texture Properties icon in the sidebar only appears when configuring World Backgrounds, Displacement Modifiers, or Sculpt/Paint Brushes.
[Modern Blender Texture Architecture]
Where Do You Add Textures Today?
       │
       ├── Surface Materials (Albedo, Normal, PBR) ──> [Shader Editor Workspace]
       │                                                 Add > Texture > Image Texture
       │
       ├── Geometry Height Modifiers               ──> [Properties > Displace Modifier]
       │                                                 Creates New Texture Data-Block
       │
       └── Sculpting / Painting Brushes            ──> [Properties > Texture Tab]
                                                         Checkerboard Icon Appears
Step-by-Step: How to Access and Add Textures in Modern Blender
1. Adding Material Textures Using the Shader Editor (Recommended)
To attach image maps to your 3D models in Blender 3.0 through 4.2+, bypass the legacy Properties panel entirely.
- Select your 3D object in the viewport and ensure it has an active material assigned.
- Switch your workspace tab at the top of the screen from Layout to Shading (or split your window and open the Shader Editor).
- Inside the Shader Editor canvas, press
Shift + A > Texture > Image Textureto spawn a new texture node. - Click Open on the node to load your PNG/JPG file, then connect its Color socket into the Base Color or Normal socket of your Principled BSDF node.
2. Restoring the Texture Tab for Displacement and Modifiers
If you are using a Displace Modifier to deform high-poly terrain and need to edit the procedural heightmap or image pattern:
- Select your subdivided mesh and open the Modifier Properties tab (blue wrench icon).
- Add a Displace modifier (
Add Modifier > Deform > Displace). - Click the + New button inside the modifier panel to create a texture data-block.
- Click the Show in Texture Tab icon (small slider icon to the right of the texture name); Blender will immediately jump to the red checkerboard Texture Properties tab so you can load your heightmap file.
3. Enabling the Texture Panel During Sculpting and Painting
When painting masks or stamping alpha details in Sculpt Mode or Texture Paint Mode, the texture configuration options dynamically appear in the sidebar.
- Switch your viewport mode to Sculpt Mode or Texture Paint.
- Look at the right-hand Properties panel; the red-and-white checkerboard Texture Properties icon is now active at the bottom of the vertical icon column.
- Select brush texture slots (
Brush MaskorStencil) to load custom alpha patterns.
Diagnostic Reference Table: Locating Texture Controls in Blender
| Task Goal | Target UI Workspace | Exact Menu Path / Keyboard Shortcut |
|---|---|---|
| Assign Albedo / Normal / PBR Maps | Shader Editor | Press Shift + A > Texture > Image Texture and connect to Principled BSDF |
| Edit Displace Modifier Heightmaps | Properties > Texture Tab | Click Show in Texture Tab inside the Displace Modifier panel |
| Load Custom Sculpt Stencils | Properties > Texture Tab | Active only while viewport is switched into Sculpt Mode |
| Quick Material Image Slot Preview | Material Properties Tab | Click the yellow circle beside Base Color > Image Texture |
Streamline Your Blender PBR Workflow
Once you know where to connect Image Texture nodes inside Blender’s Shader Editor, the speed of your work depends on the quality of your source maps. Generating clean, seamless normal and roughness maps ensures your materials respond realistically under Cycles and Eevee lighting without requiring complex node math.
Build production-ready surface maps for your Blender Shader Editor immediately. Generate a Normal Map for Your Blender Scene — Try Concrete Wall or download high-resolution tileable assets from our Create a Seamless Floor Tile Texture for Blender.
Related reading: What is a Normal Map? · Add Ambient Occlusion in Blender · Roughness Map Guide · Best Normal Map Creator Online