
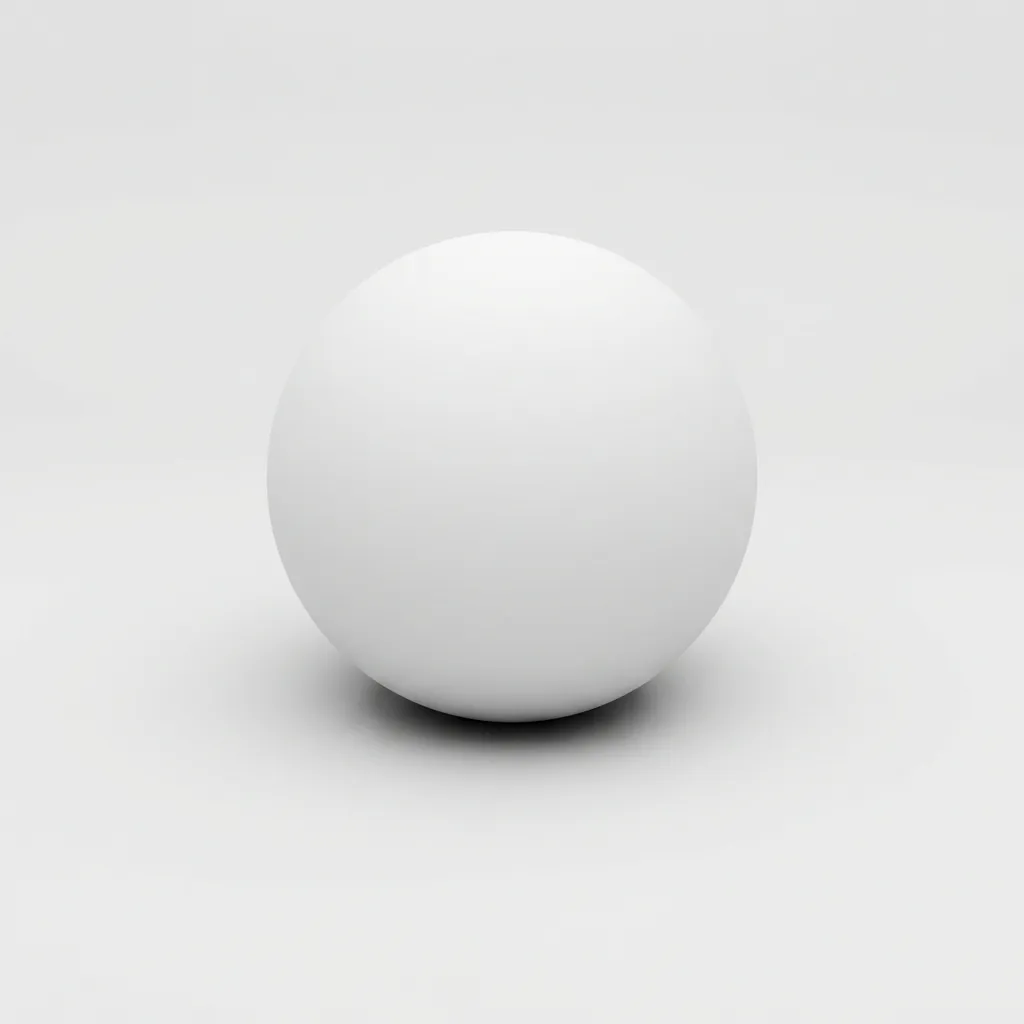
Visualizing AO: Notice the soft shadow at the contact point between the sphere and the ground, where ambient light is occluded.
Standard lighting in 3D can look flat. Objects seem to float. Corners don’t feel like corners. The Ambient Occlusion (AO) Map fixes this — it’s the secret weapon for grounding objects and adding subtle depth.
Ambient Occlusion calculates how exposed each point on a surface is to ambient light.
Picture the corner where two walls meet the ceiling. Even with even lighting, that corner always looks darker. The geometry blocks light from reaching the crevice. An AO map bakes this information into a texture.
AO simulates soft shadows in cracks, corners, and crevices — places light can’t easily reach.
How an AO Map Works
An Ambient Occlusion map is a grayscale image, meaning it carries no color information, only intensity values ranging from black to white:
- White (1.0): Represents areas that are fully exposed to the environment. These parts receive full ambient light.
- Black (0.0): Represents areas that are fully occluded. These parts are in shadow (like deep cracks or the inside of a pipe).
- Gray: Represents partially occluded areas, such as rounded bevels or shallow recesses.
Why is AO Critical for PBR?
In modern Physically Based Rendering (PBR) workflows (like in Unreal Engine 5, Unity, or Blender), AO plays three critical roles:
- Grounding Objects: Without AO, objects placed on a floor can look like they are floating. The subtle shadow at the contact point grounds them.
- Micro-Detail Enhancement: Normal maps simulate surface relief through light reflections, but they do not cast self-shadows. AO maps “bake” these tiny shadows into crevices, making details like screw holes, clothing folds, and brick mortar pop.
- Performance Optimization: Calculating real-time global illumination and ray-traced shadows is computationally expensive. Using a pre-computed AO map is a lightweight way to achieve high-quality contact shadows without reducing frame rates.
AO vs. Direct Shadow Maps
It is important to distinguish Ambient Occlusion from standard directional shadows:
- Direct Shadows: Directional and light-source dependent. They shift position as the sun or light source moves across the 3D scene.
- Ambient Occlusion: Completely non-directional. It represents diffuse skylight occlusion caused by neighboring geometry and stays consistent regardless of light direction.
The Industry Standard: ORM Texture Packing
In production game pipelines (such as Unreal Engine, glTF 2.0, and WebGL), loading separate grayscale textures for Ambient Occlusion, Roughness, and Metallic wastes significant GPU memory bandwidth.
Instead, studios pack these three maps into the individual color channels of a single RGB image known as an ORM Map:
| Channel | Map Type | Role |
|---|---|---|
| Red (R) | Occlusion (AO) | Crevice contact shadows |
| Green (G) | Roughness | Surface glossiness vs. matte scattering |
| Blue (B) | Metallic | Conductor vs. dielectric binary mask |
By packing AO into the Red channel, game engines only sample a single texture file during the shading pass, saving 66% of texture memory bandwidth.
How to Generate an AO Map Online from Any Image
You do not need high-end 3D modeling software or slow baking processes in Blender to create clean Ambient Occlusion maps. Our browser-based GPU tool extracts cavity and depth data directly from standard photographs, diffuse textures, and albedo maps.
Step 1: Upload Your Source Image
Navigate to NormalMap.ai and drag your source texture (.png, .jpg, .webp) into the canvas. Your GPU processes the image locally using WebGL2—no files are uploaded to any external server.
Step 2: Switch to the AO Tuning Tab
In the bottom tuning bar, click the AO button. The viewport displays your real-time Ambient Occlusion preview.
Step 3: Fine-Tune Occlusion Intensity
Use the control sliders to match your material’s surface properties:
- Strength & Radius: Controls how far the contact shadows spread out from edges and crevices.
- Contrast / Level: Intensifies the deep black values in hairline cracks while keeping flat surface areas pure white (
1.0).
Step 4: Inspect in the 3D Viewport
Switch to the 3D Viewport and select a primitive (Sphere, Cube, or Material Ball). Rotate the dynamic light around the object to ensure crevices remain naturally shadowed as light sweeps past.
Step 5: Export Lossless 4K Maps
Click Export to download your 8-bit or 16-bit AO Map (_ao.png). You can also export the full PBR bundle containing matching Normal Maps, Roughness Maps, and Height/Displacement Maps.
Best Practices for Clean Ambient Occlusion
- Avoid Over-Darkening: Real-world ambient occlusion rarely hits pure black
#000000except in deep narrow holes. Keep crevice shadows at dark charcoal gray (#151515–#252525) to avoid unnatural soot-like artifacts. - Set Color Space to Linear: Because AO represents mathematical data rather than visible color, ensure your engine’s texture sampler is set to Linear / Non-Color (disable sRGB).
- Combine with Normal and Roughness: An AO map works best when paired with a matching Normal Map and Roughness Map for realistic light response.
Ready to generate production-ready contact shadows? Try our Free Online AO & Normal Map Generator now.